
How I Edit my Blog Photos
I'm sure we all know this by now, that post-processing our photos is essential, especially for bloggers and social media influencers like myself.
We can't just upload straight-out-of-the-camera photos anymore, and it's for good reason. Social media isn't just an avenue for us influencers to express our thoughts anymore. It's become a work field, and so it's extremely important for us to make sure that everything we put out in the world wide web reflects our business/brand. And of course, that includes beautifully edited photos.
Today, I'm going to show you how I edit my blog photos, and I hope that you find this helpful. But wait, there's more! I have a huge announcement to make! ARE YOU READY?!

HOW I EDIT MY BLOG PHOTOS
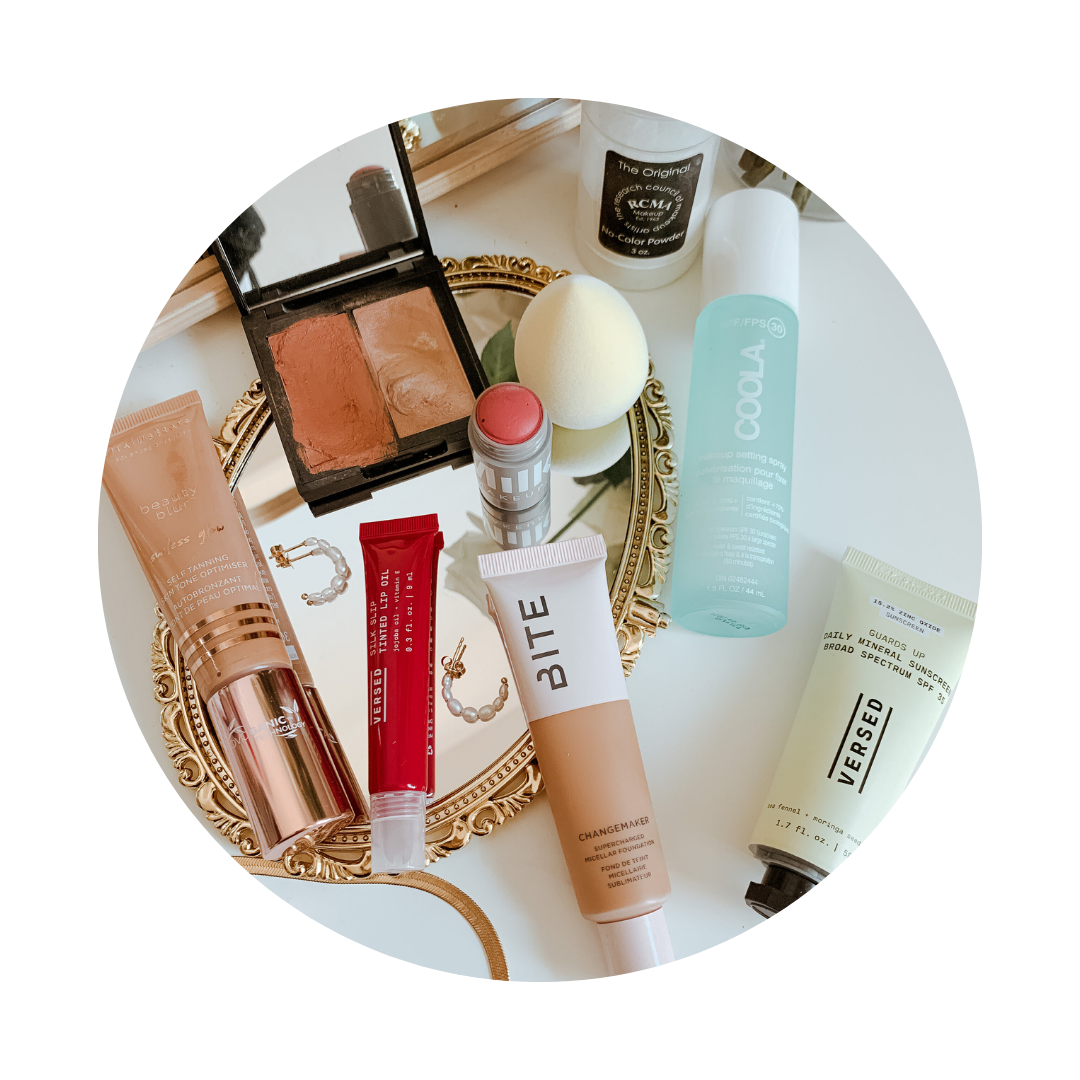
edited with CLEAN 3 Preset
DRUM ROLL PLEASE.........
✨ I developed my own Lightroom Presets, and I'm so excited to let you know that I've made them available to you guys as well! ✨
I've been working on this for over a month now, and I'm so happy because it's finally ready! I made sure I developed filters that I would use myself, and I'm really excited to share them with you! I created 12 Lightroom Presets that are perfect to use for lifestyle and travel photography. It is now available for purchase on Filtergrade.com, and I made sure I created affordable options here on my website. The complete pack is $35, and the 3-packs are $15.
But hey, it's my birthday!!! So today through the end of the month, you can use my code "HAPPY27TH" to get 15% off on your purchase here on my website!
The complete preset pack is also on sale for $29 on Filtergrade.com!
Please do check them out; it will mean the world to me!
PS: Shoutout to Camie for encouraging me to do this! I thought about creating my own presets for the longest time, because let's be honest here, VSCO Film ain't cheap, but I just didn't feel confident about doing it. I don't know why, but what matters now is that I did it, and she's the inspiration behind it. She pushed me to create these, so thank you Camie, if you're reading! 💖
Now, onto the tutorial!
1. Open Lightroom and Import photos
If you don't have Adobe Lightroom, what have you been doing with your life?! You need this software because it makes editing so much easier. Go buy it, or subscribe to Adobe Creative Cloud to get on that legit life now. You can thank me later.
Now onto the import part: I usually import by folder so it's easier for me to find photos for certain blog posts. I suggest you do the same for organization's sake.
Note: It's always preferable to use RAW files when editing so the quality won't be compromised. JPEGs can only do so much, but you can still edit them in LR. So with that said, I only import RAW files in Lightroom.

2. Review and Select photos
I find this step to be really important so I don't waste my time editing the entire album. I carefully pick the photos that I know is worth publishing on the blog by clicking on (P) for pick, and (X) for reject.
Then turn on the "FLAGGED" filter as seen in the second photo below for Lightroom to show ONLY the photos that you have picked. *click on photos to enlarge*
3. Develop and have fun
Now this is where the magic happens! Simply click on "DEVELOP" to start editing your photos. I will share with you guys my editing process below, but it doesn't mean that my way is the only way to achieve that post-processed look. I'm only sharing it with you to give you perspective on how I do it. This is your time to experiment, so don't be afraid to tweak your photos until you find your "own" look.
My editing process:
1. I go to the "editing" section, and enable profile corrections. I make sure I choose the correct lens profile.

2. I slap on my favorite filter. For this photo, I chose my filter CREAM 3 because I wanted this photo to look super warm and summery.

3. I then go to the editing tools again, and adjust exposure, contrast, temperature, and colors if needed. For this photo, I brought up exposure just a tad, and lowered the contrast a little bit.
Now, this is where you can really play around with the photo depending on preference. If you feel like the photo's too warm, bring down TEMP. If you want the greens to be a little brighter, you can definitely change it up! You want to skin tone to look less orange, you can adjust that too! Want to make it moody? Bring up the shadows so the blacks aren't too deep. There are no limits to what you can do to your photos, so experiment to your heart's desire.

4. I copy + paste the edits to the next photos to speed up the editing process. And then I repeat step 3 if needed.
Be sure to uncheck the LOCAL ADJUSTMENTS, SPOT REMOVAL, and CROP settings. These settings usually differ for each photo, especially in cases you do spot removals.

5. I export the photos to the same folder as the original, inside a subfolder that I name "edited" just so it's easy for me to locate them, but then again, this is just personal preference

but, I ALWAYS always make sure the image sizing settings are as follows (ideal for blogs and digital uploads):

And that's basically how I do it!
I hope that it was helpful, and please do not hesitate to ask me questions if something wasn't clear!
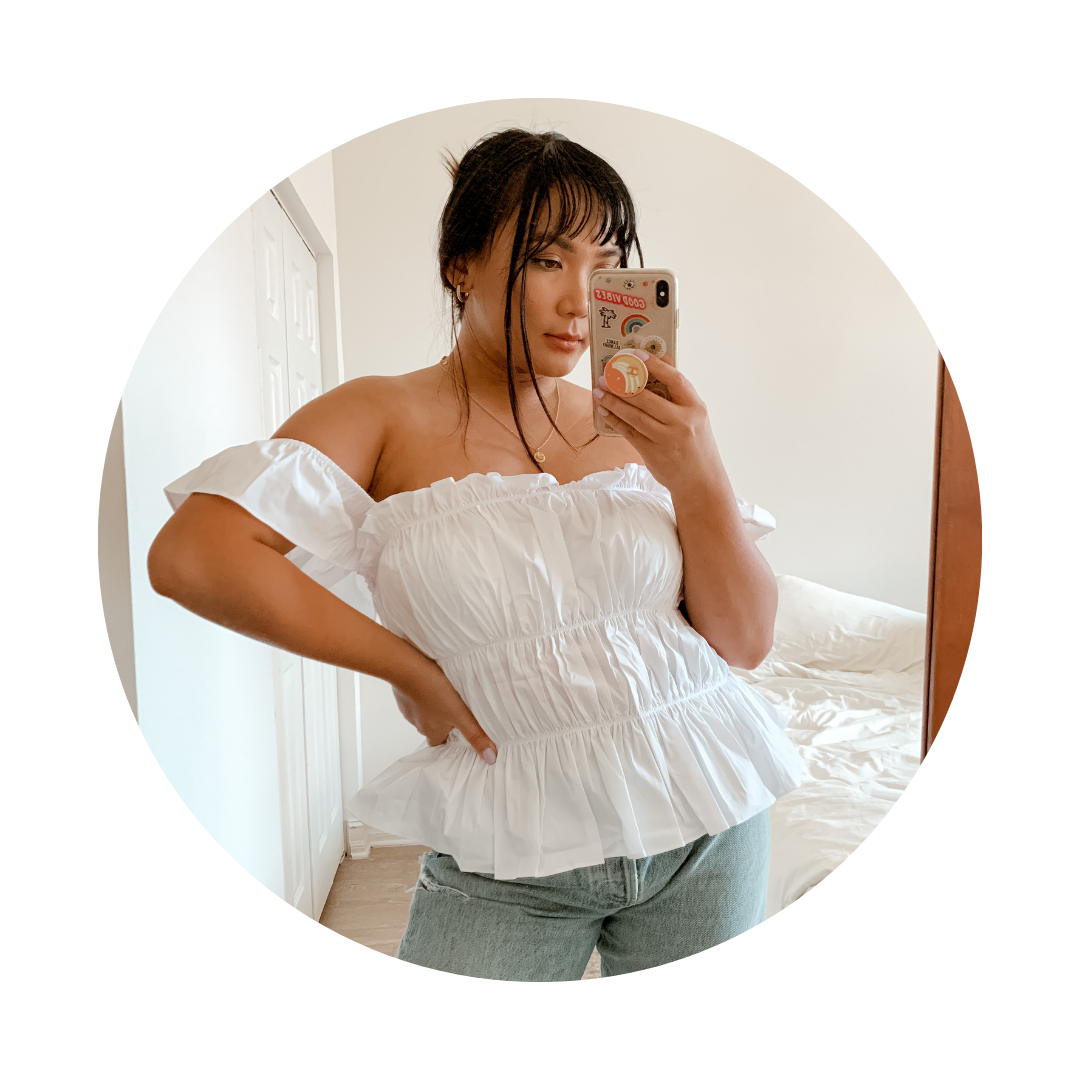
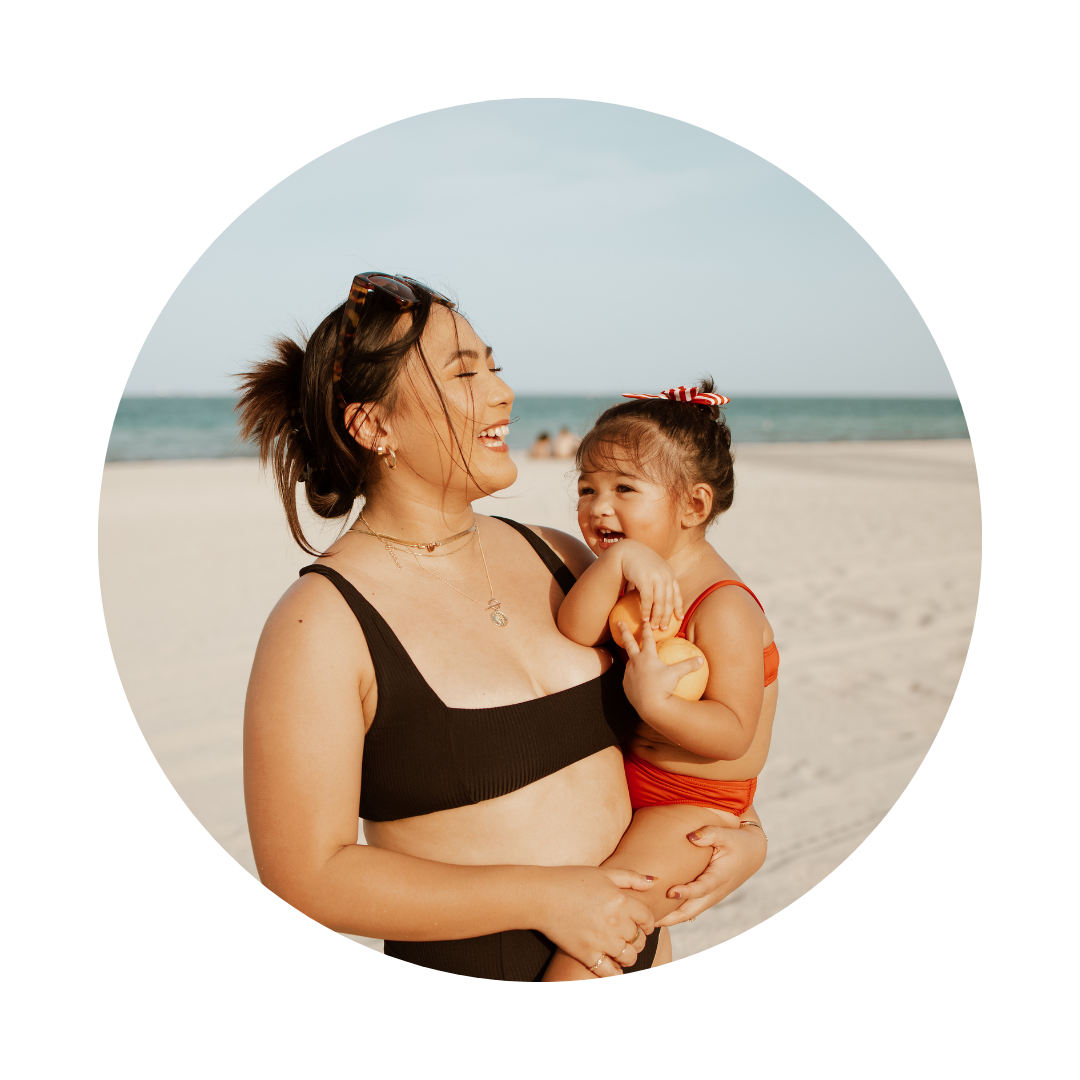
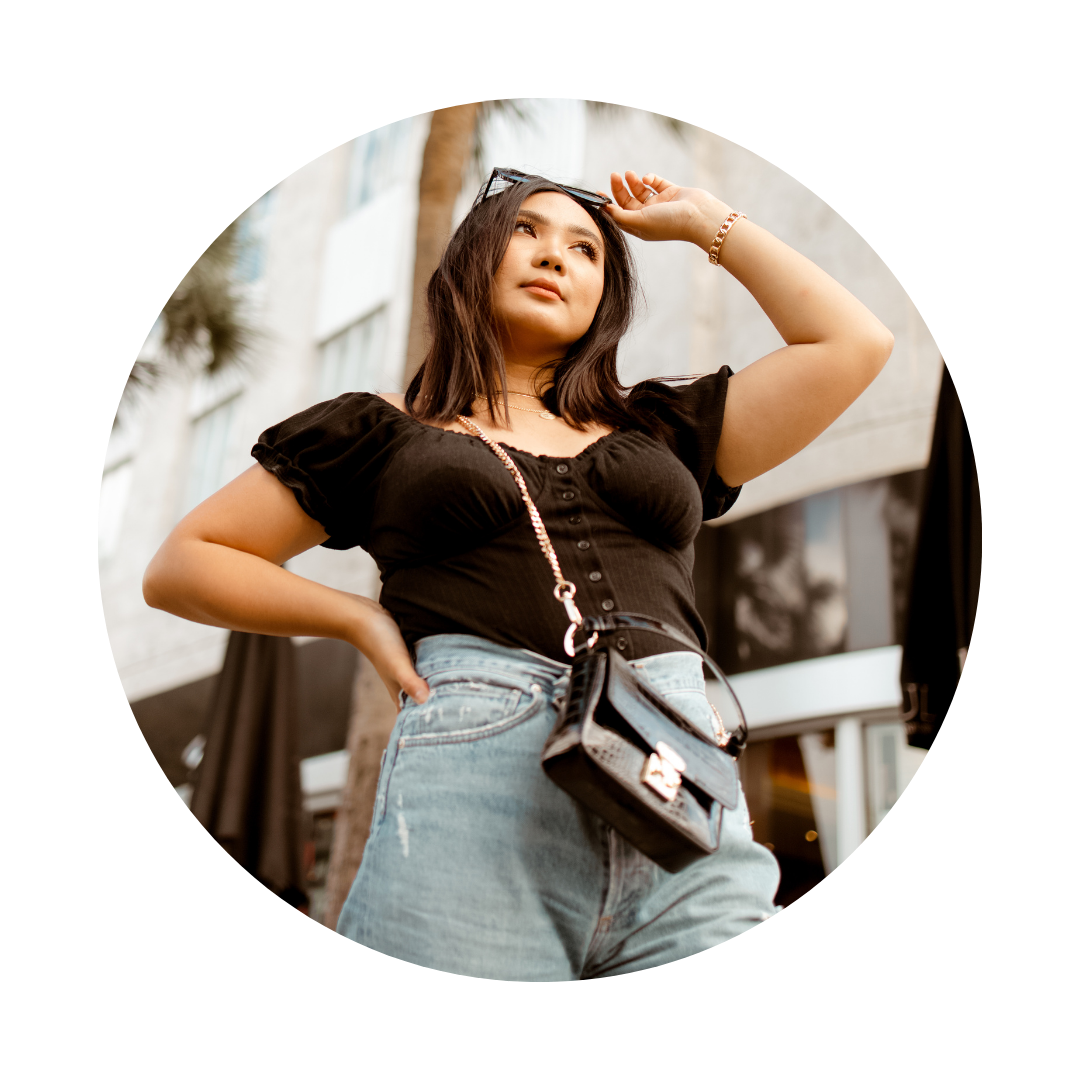
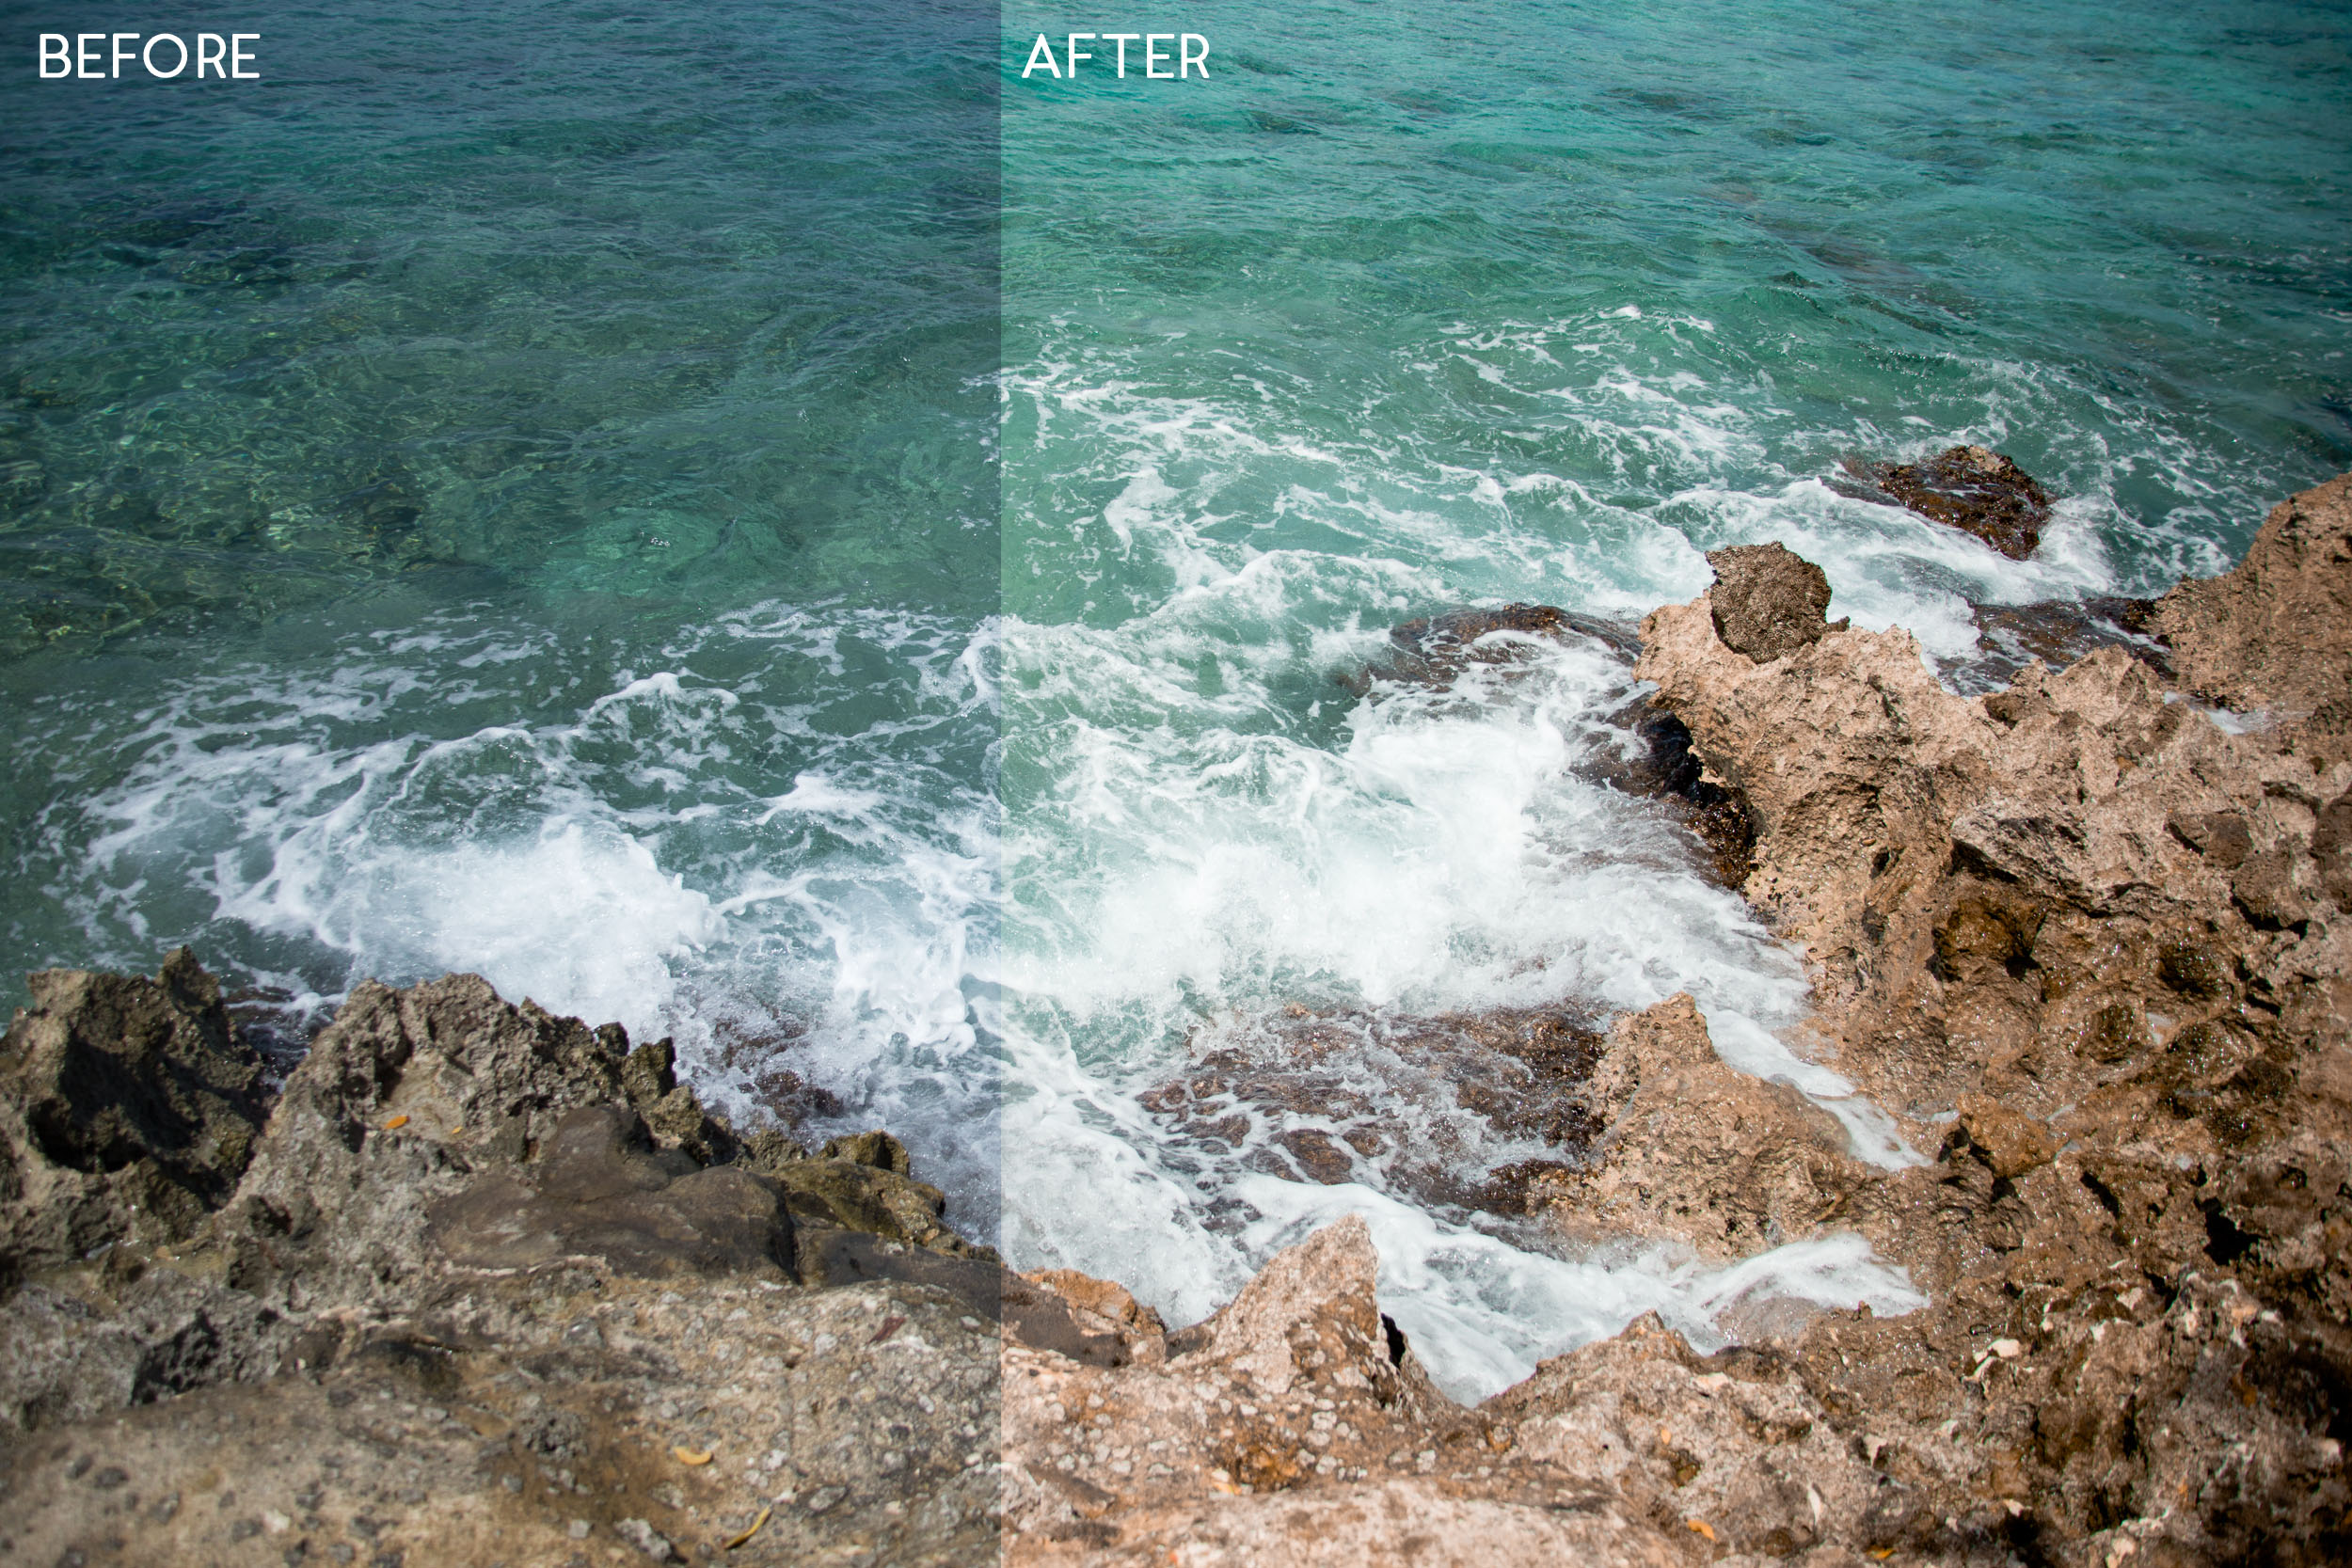
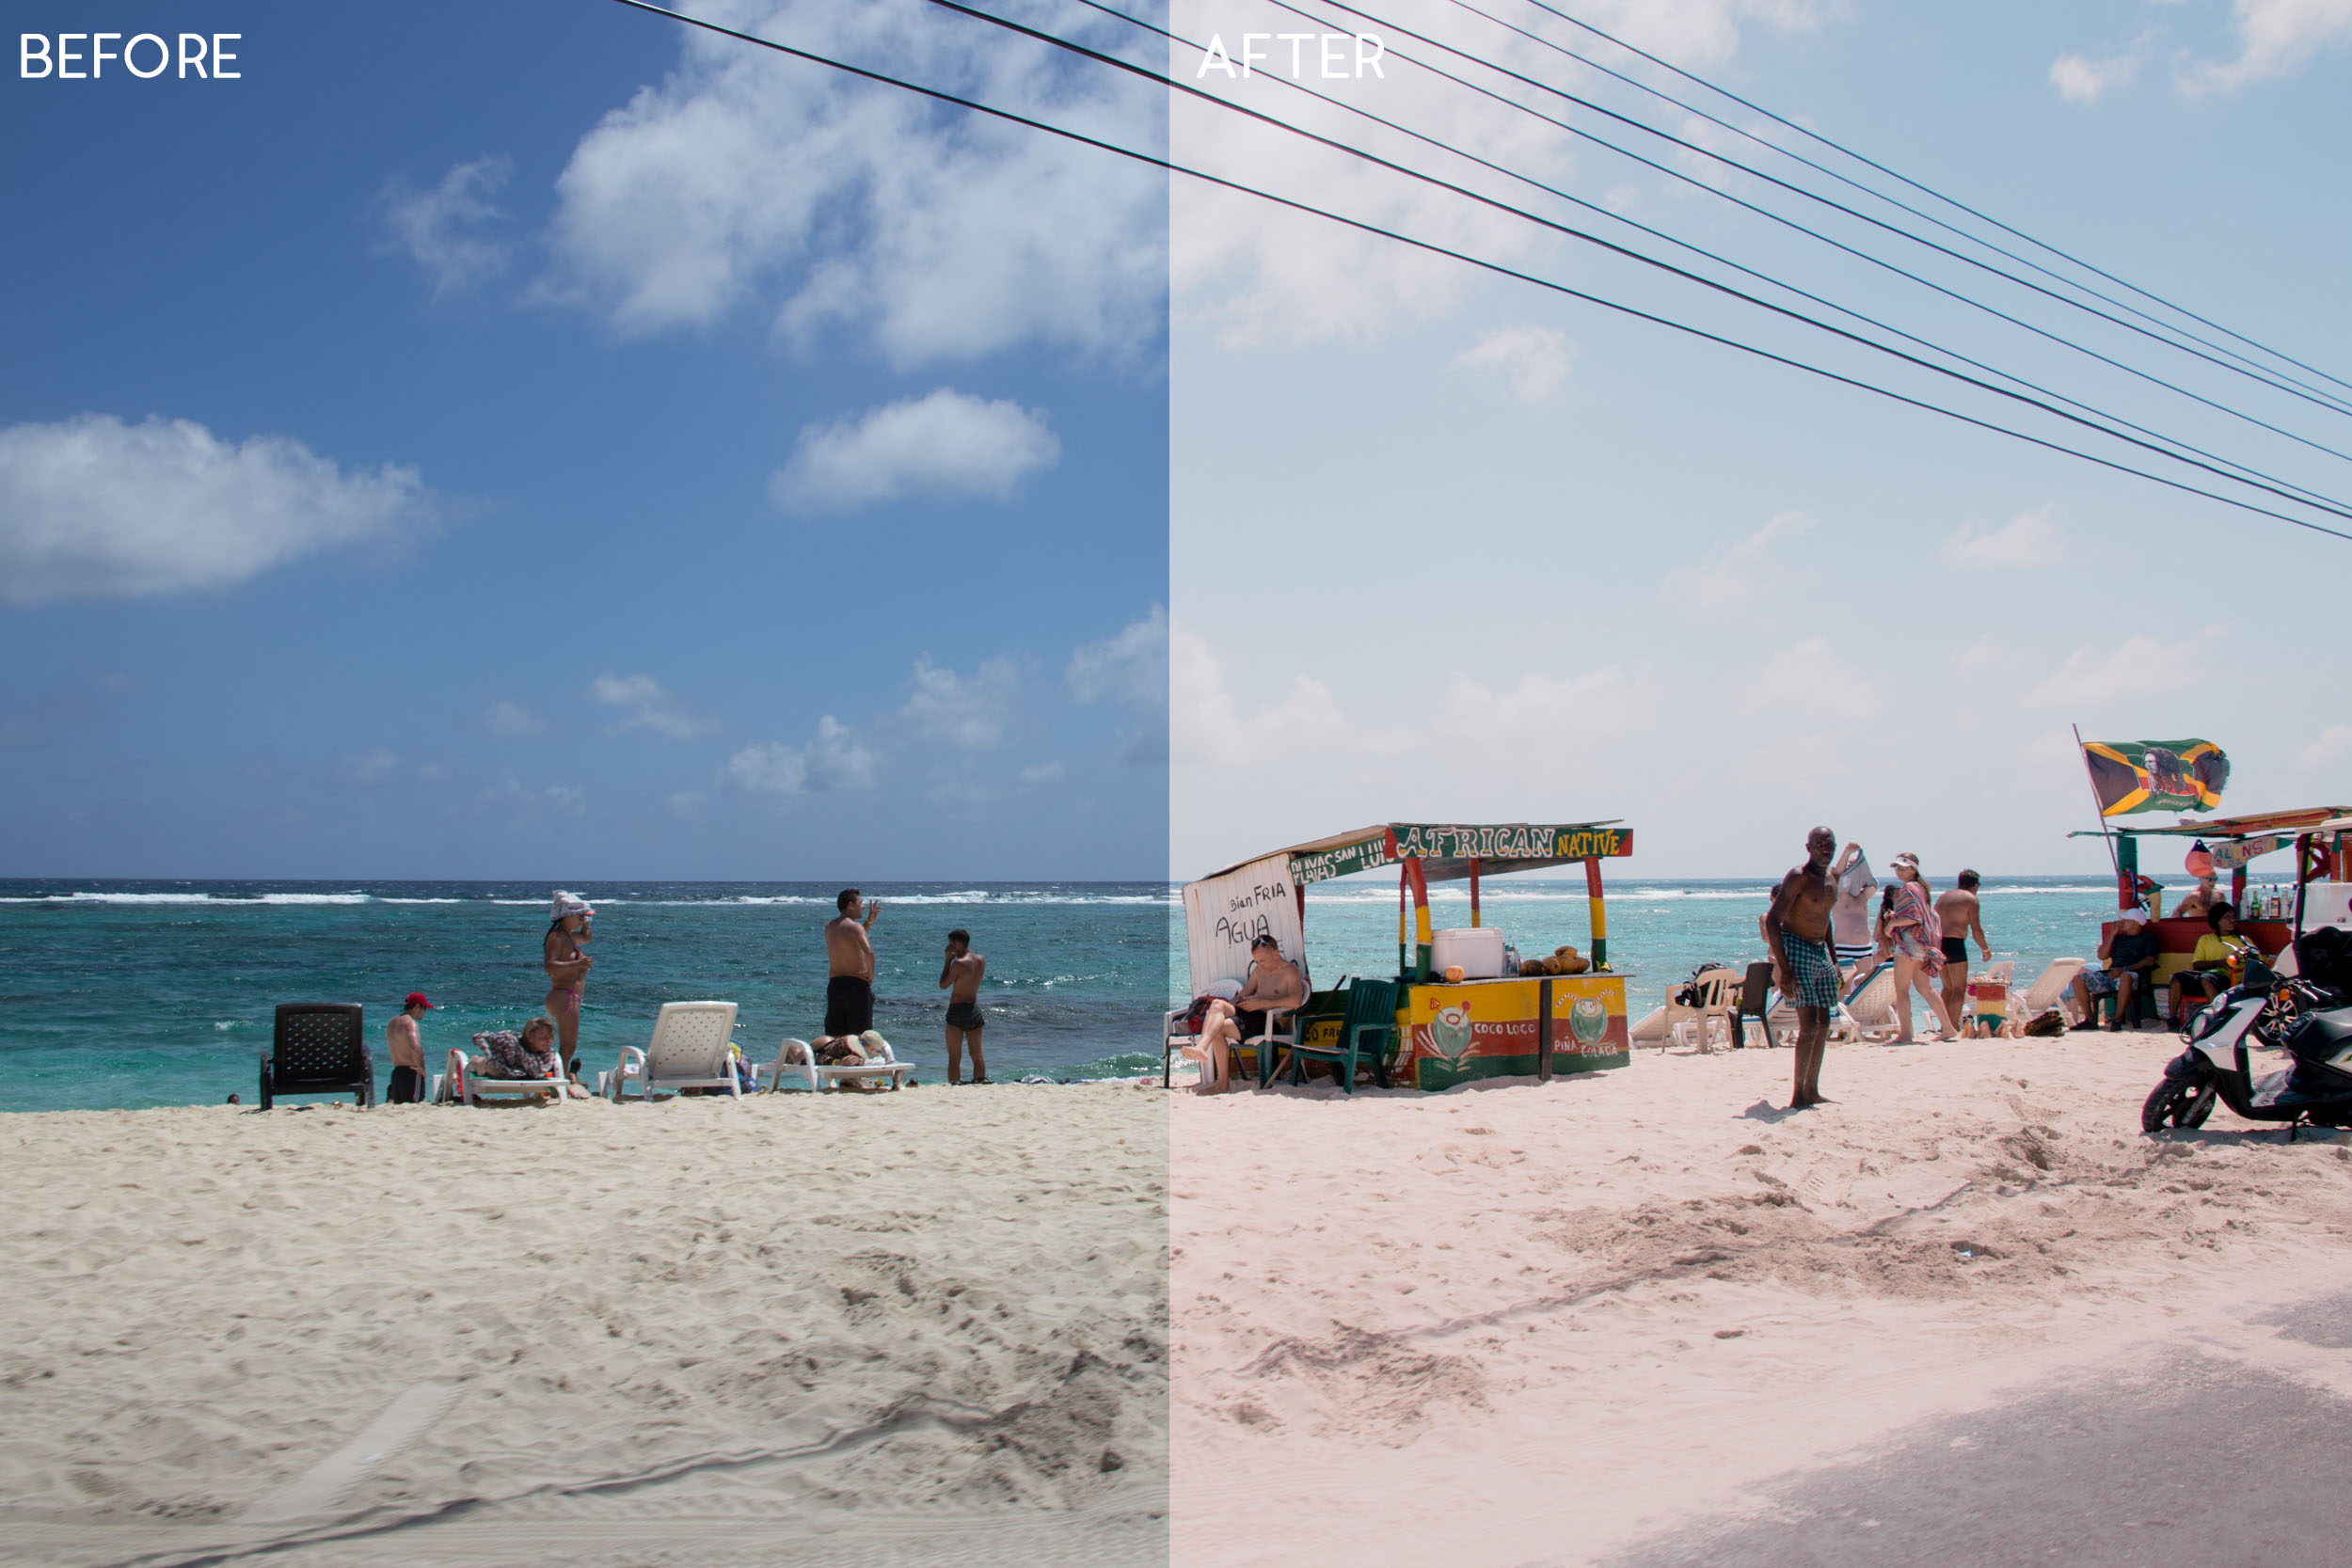
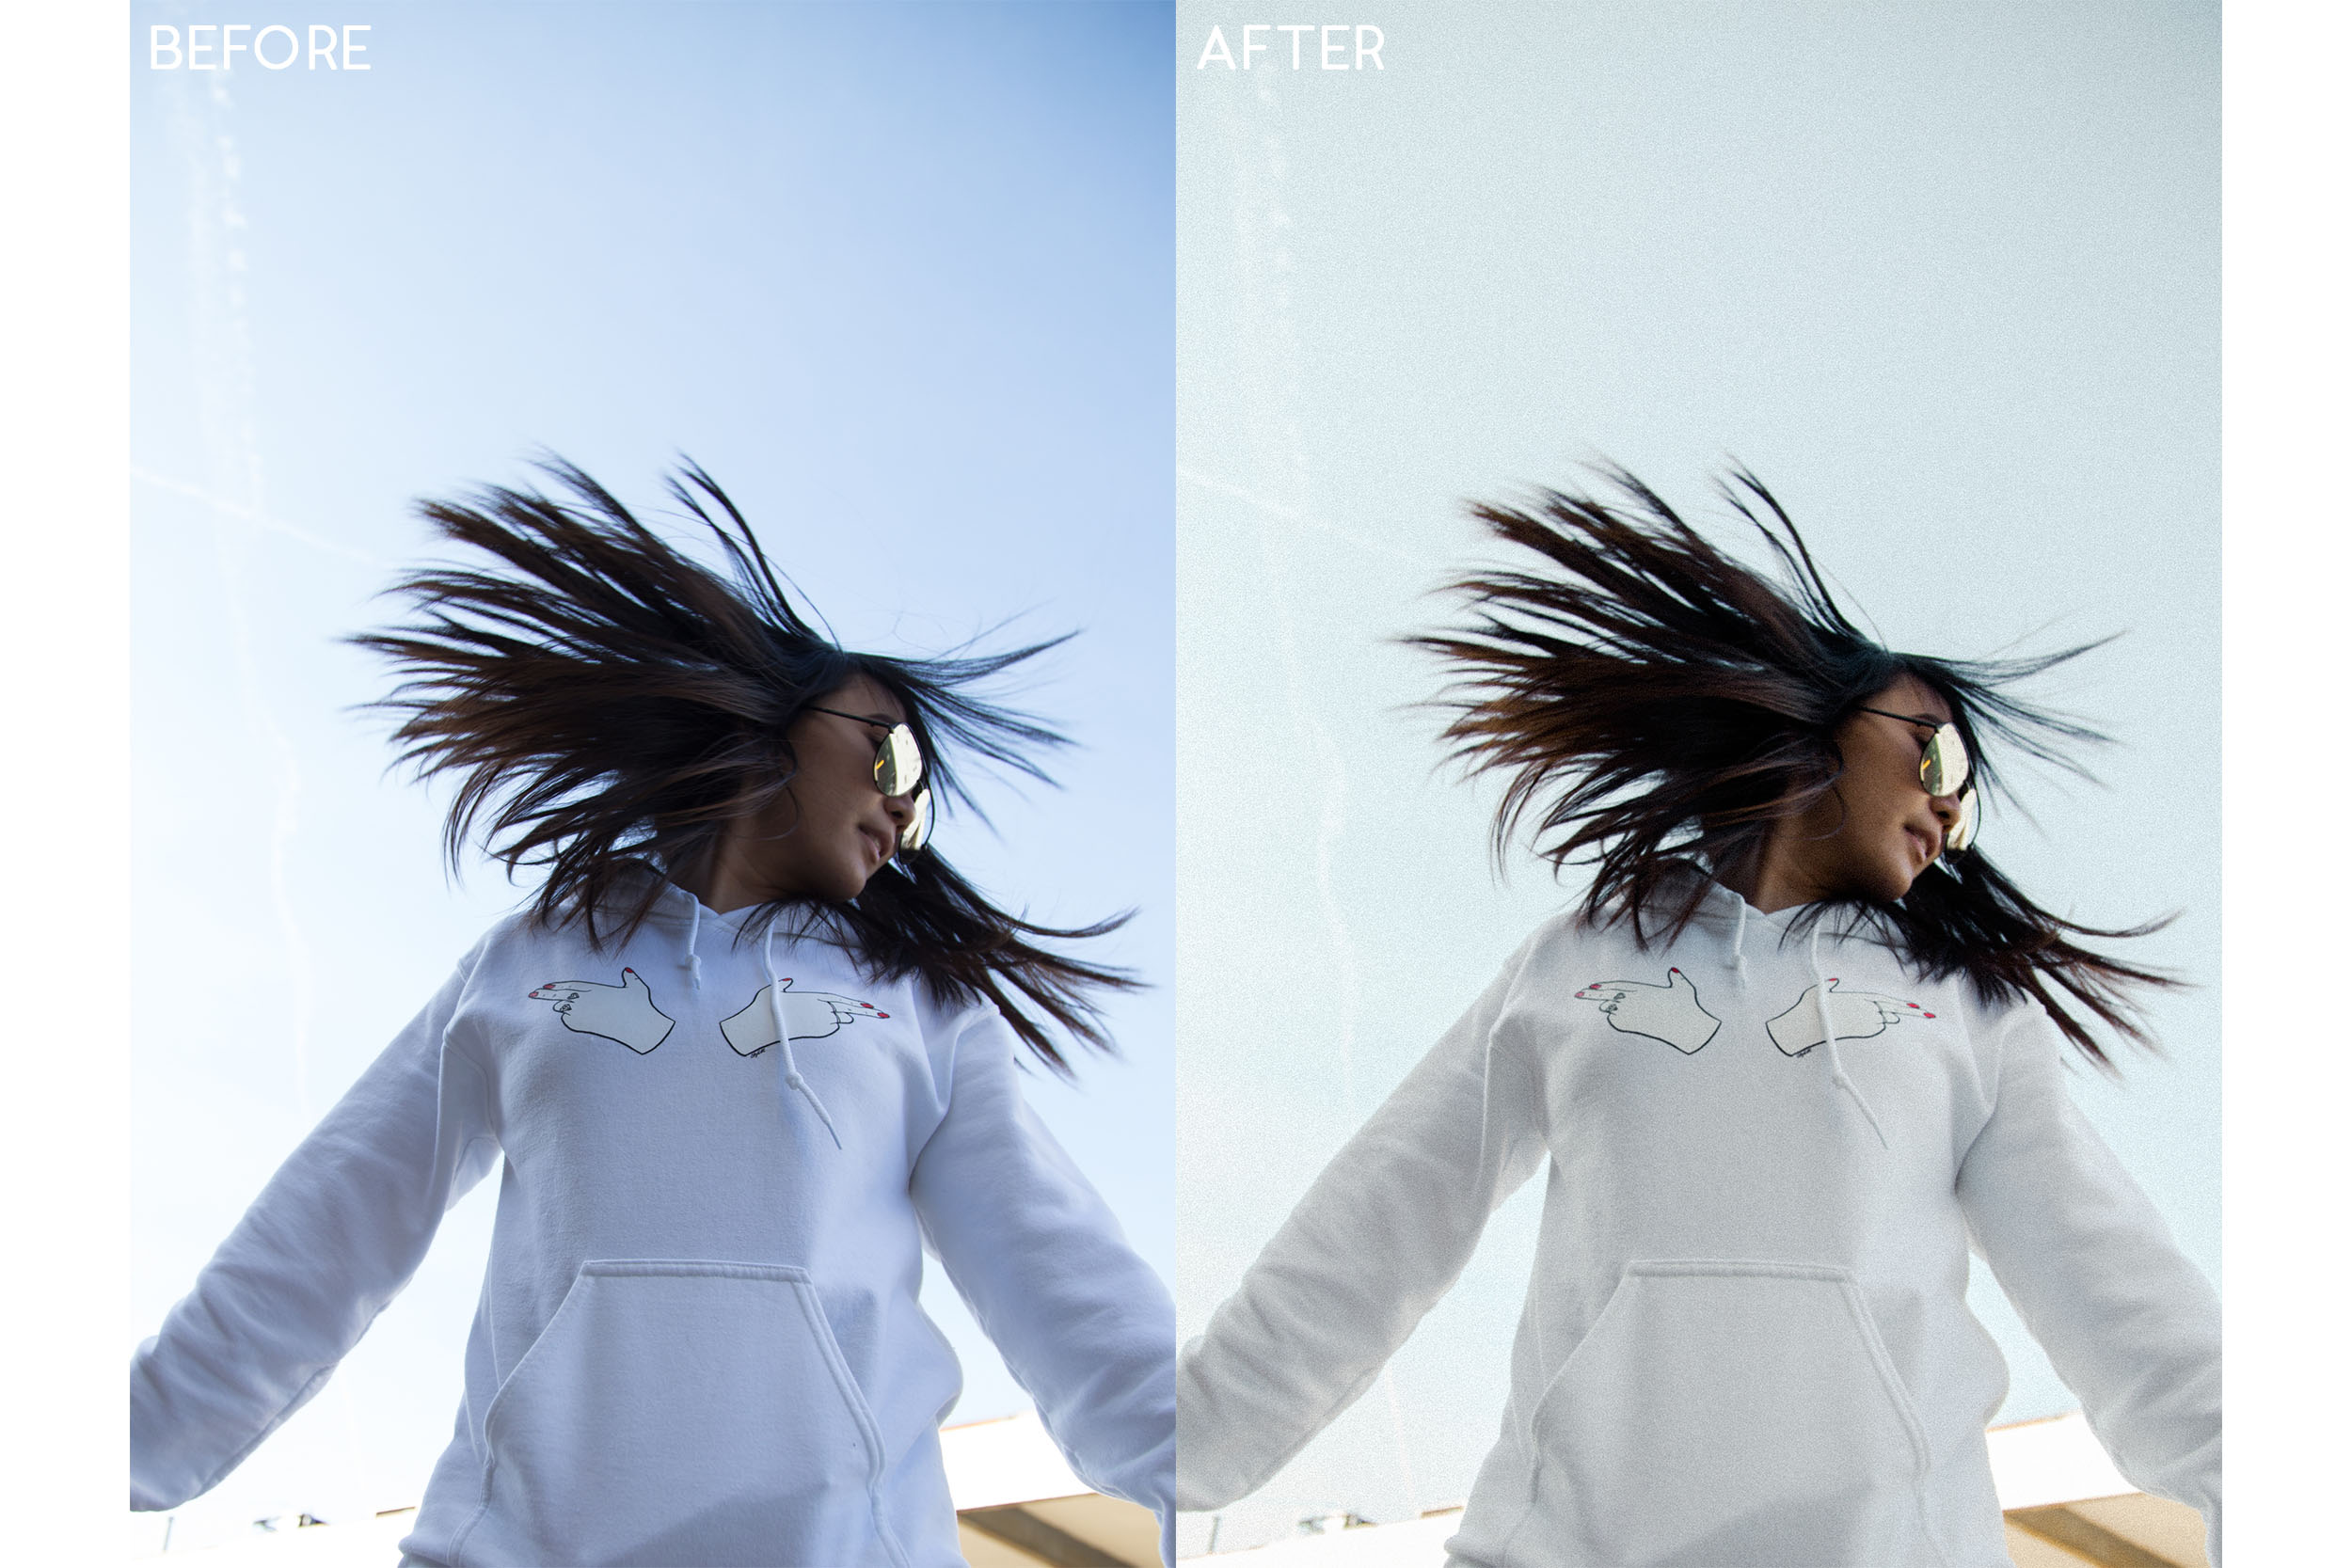
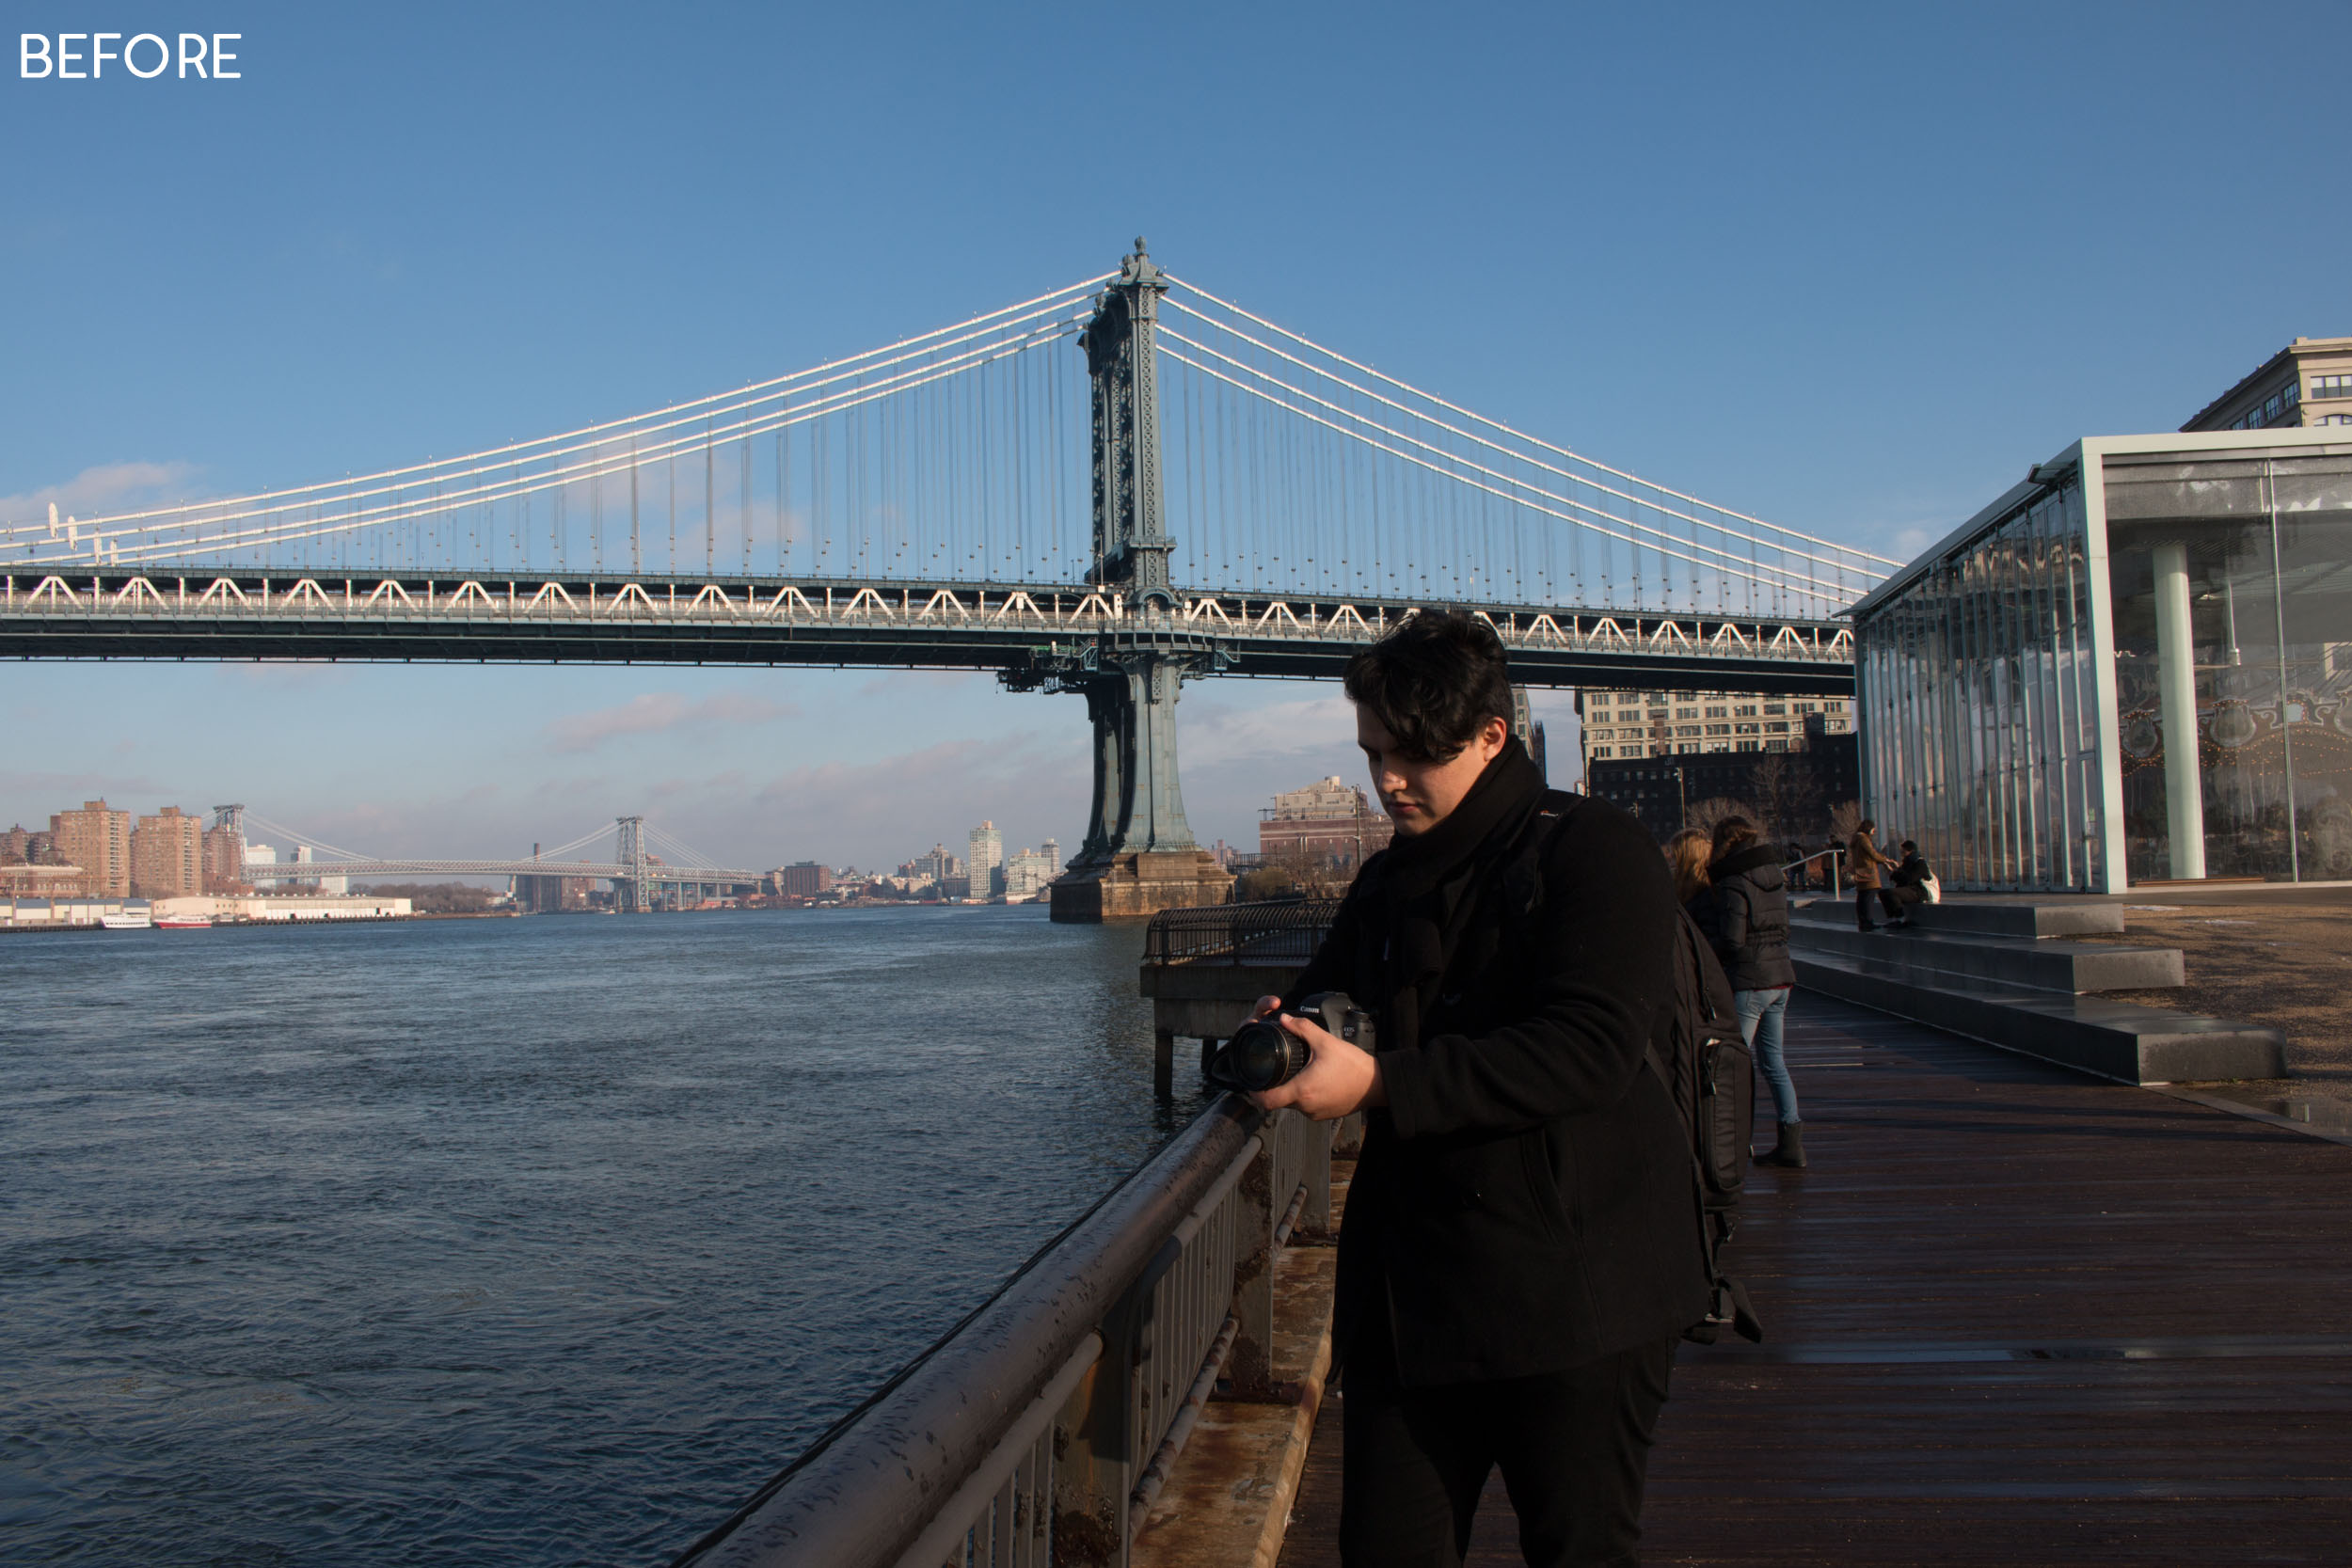
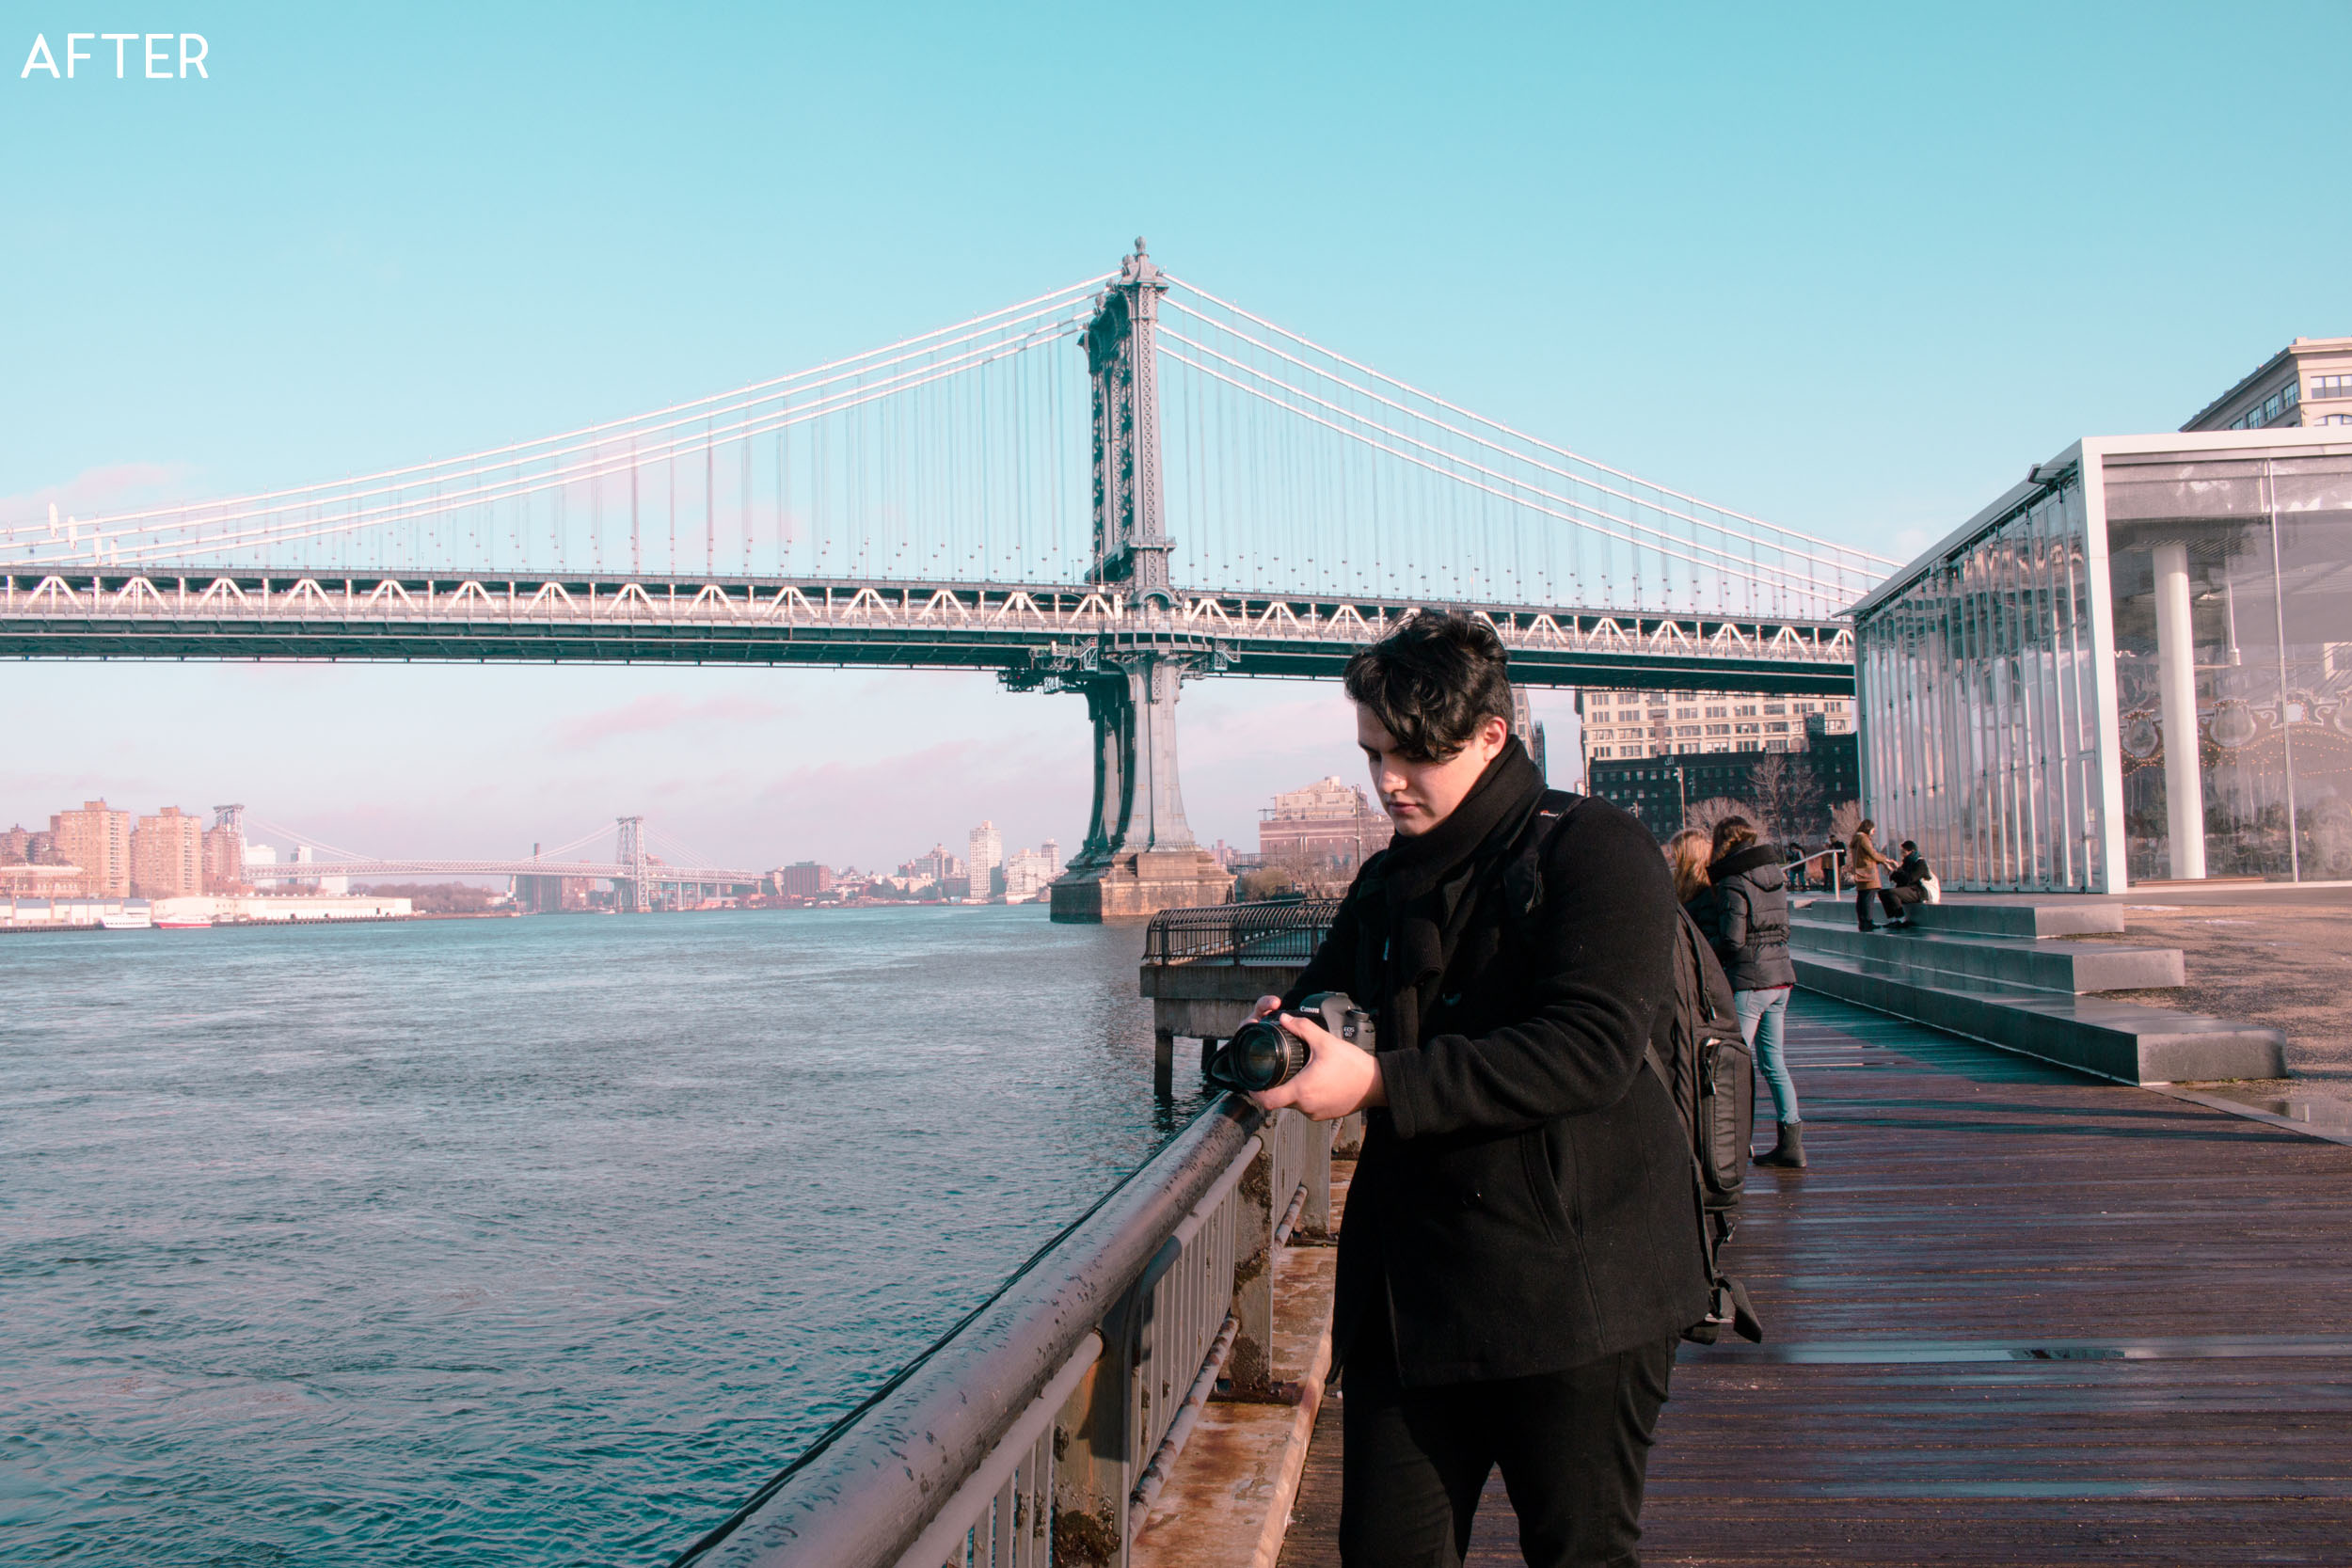
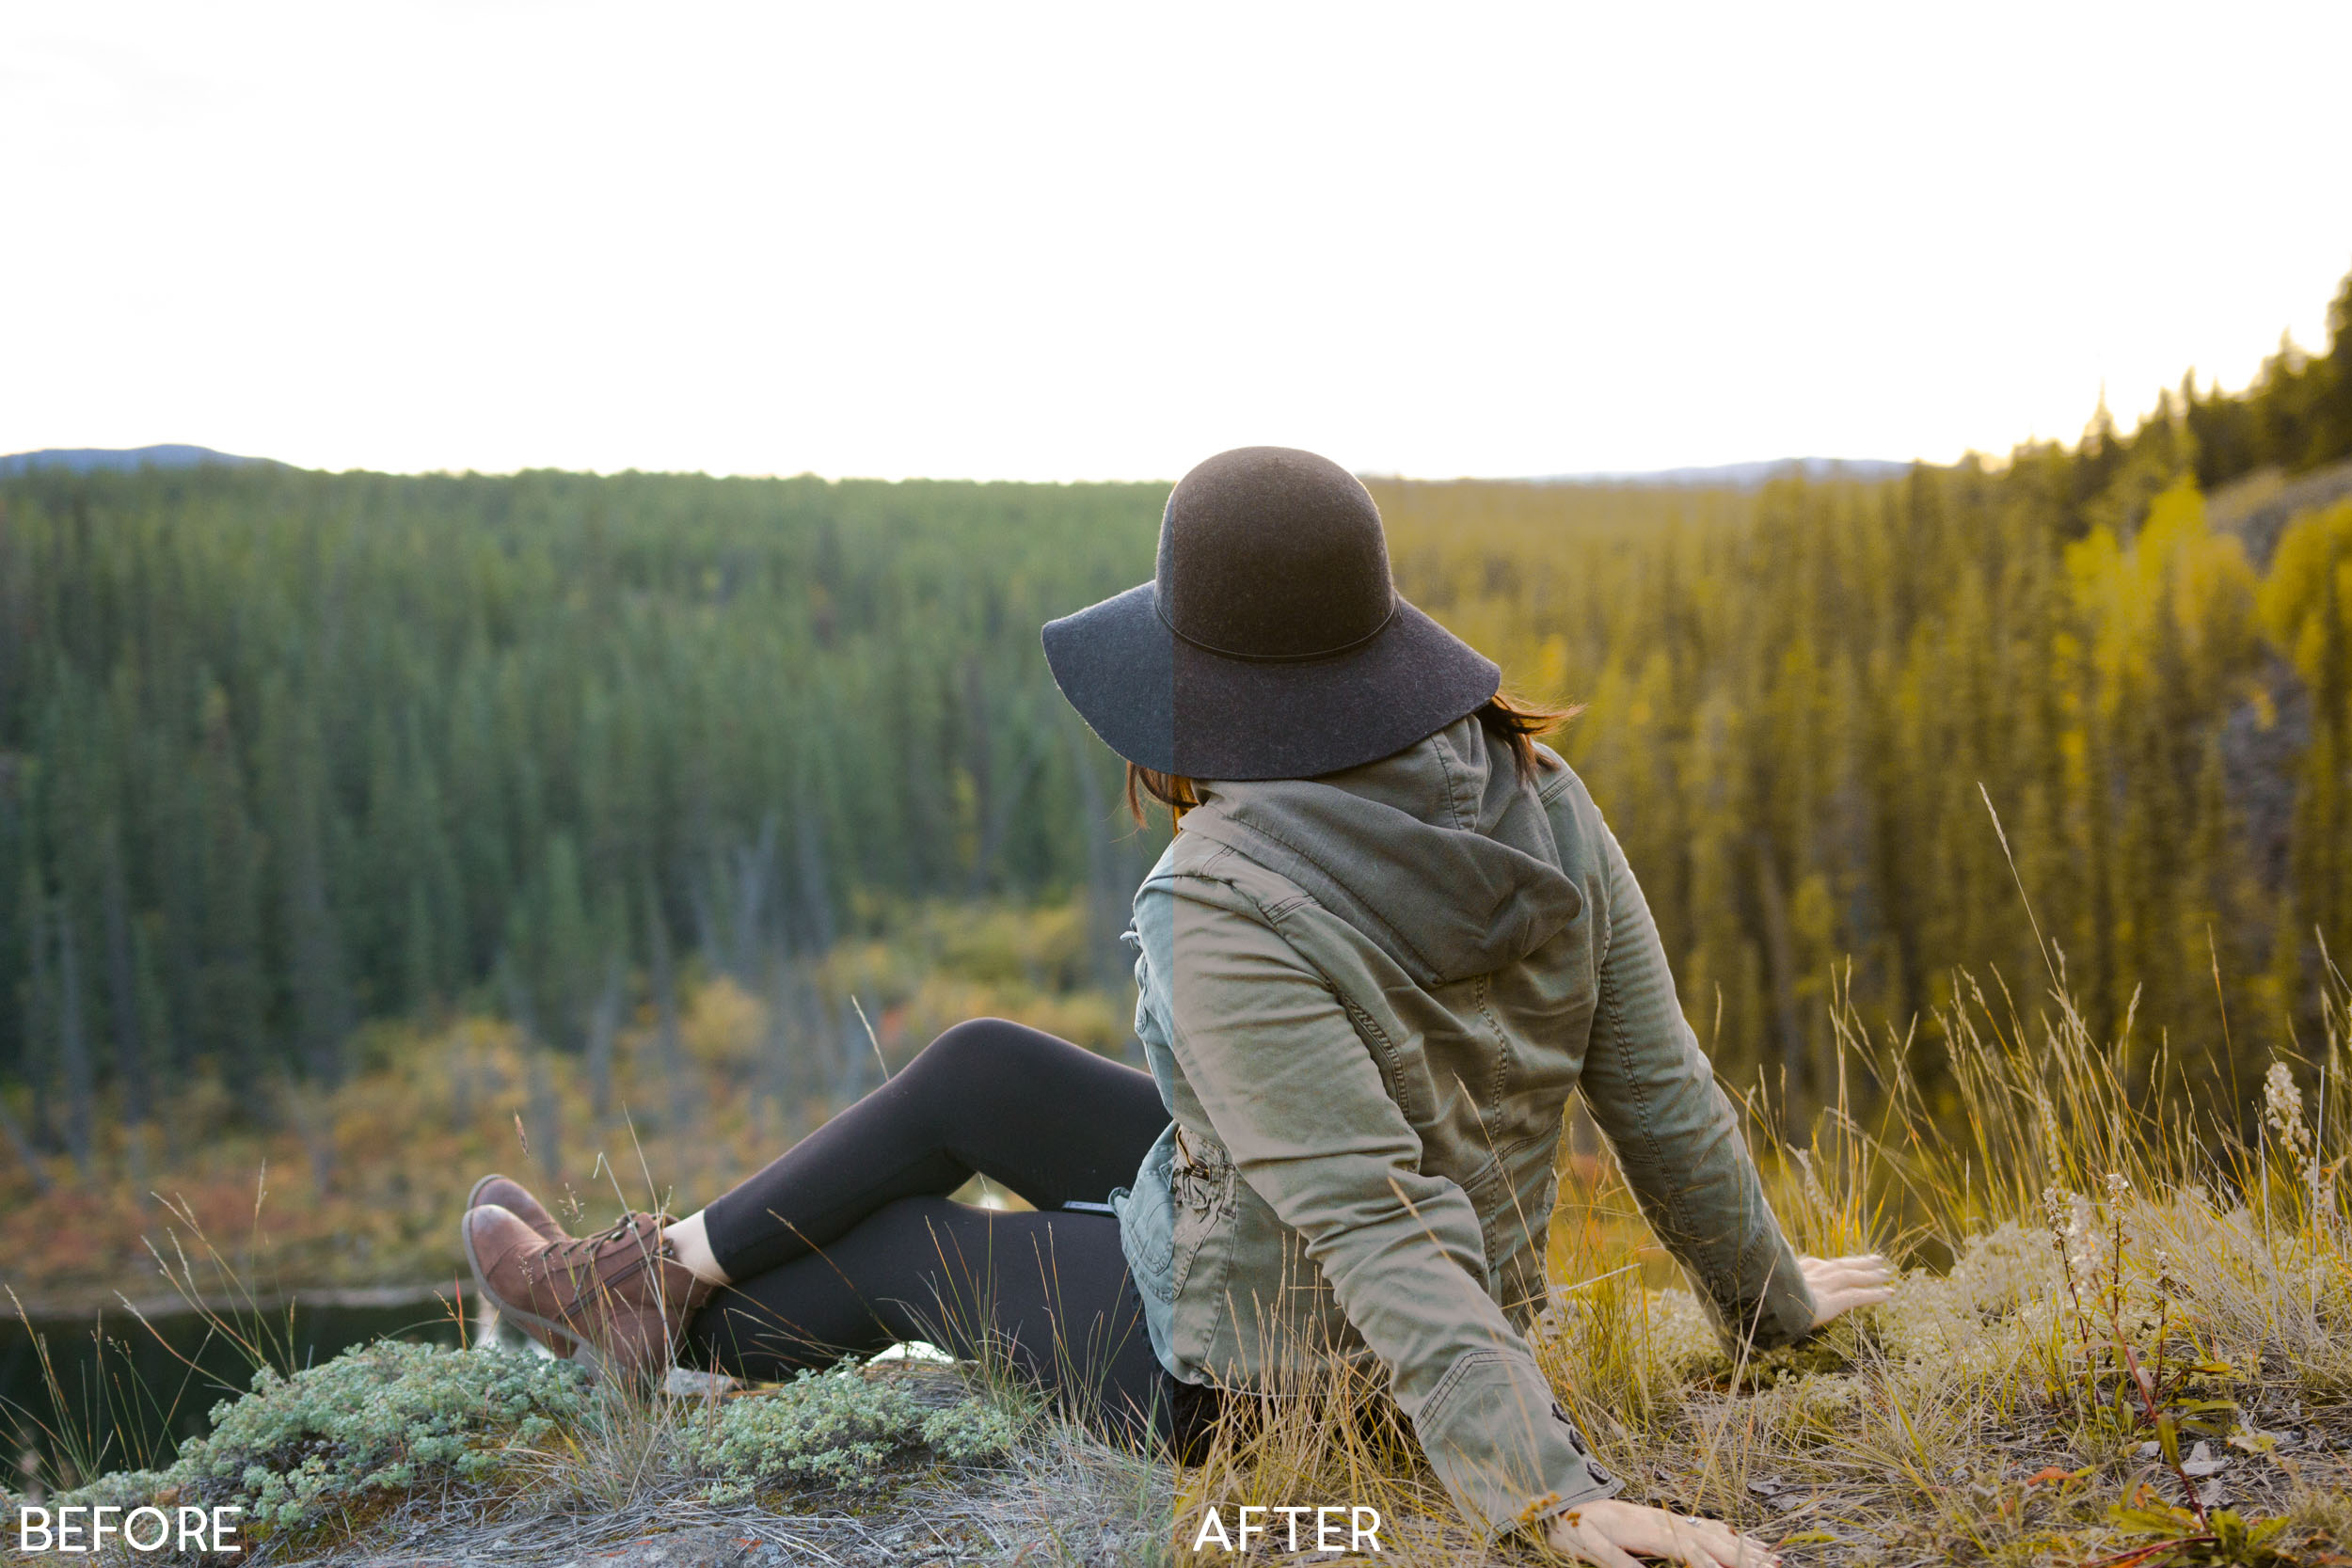
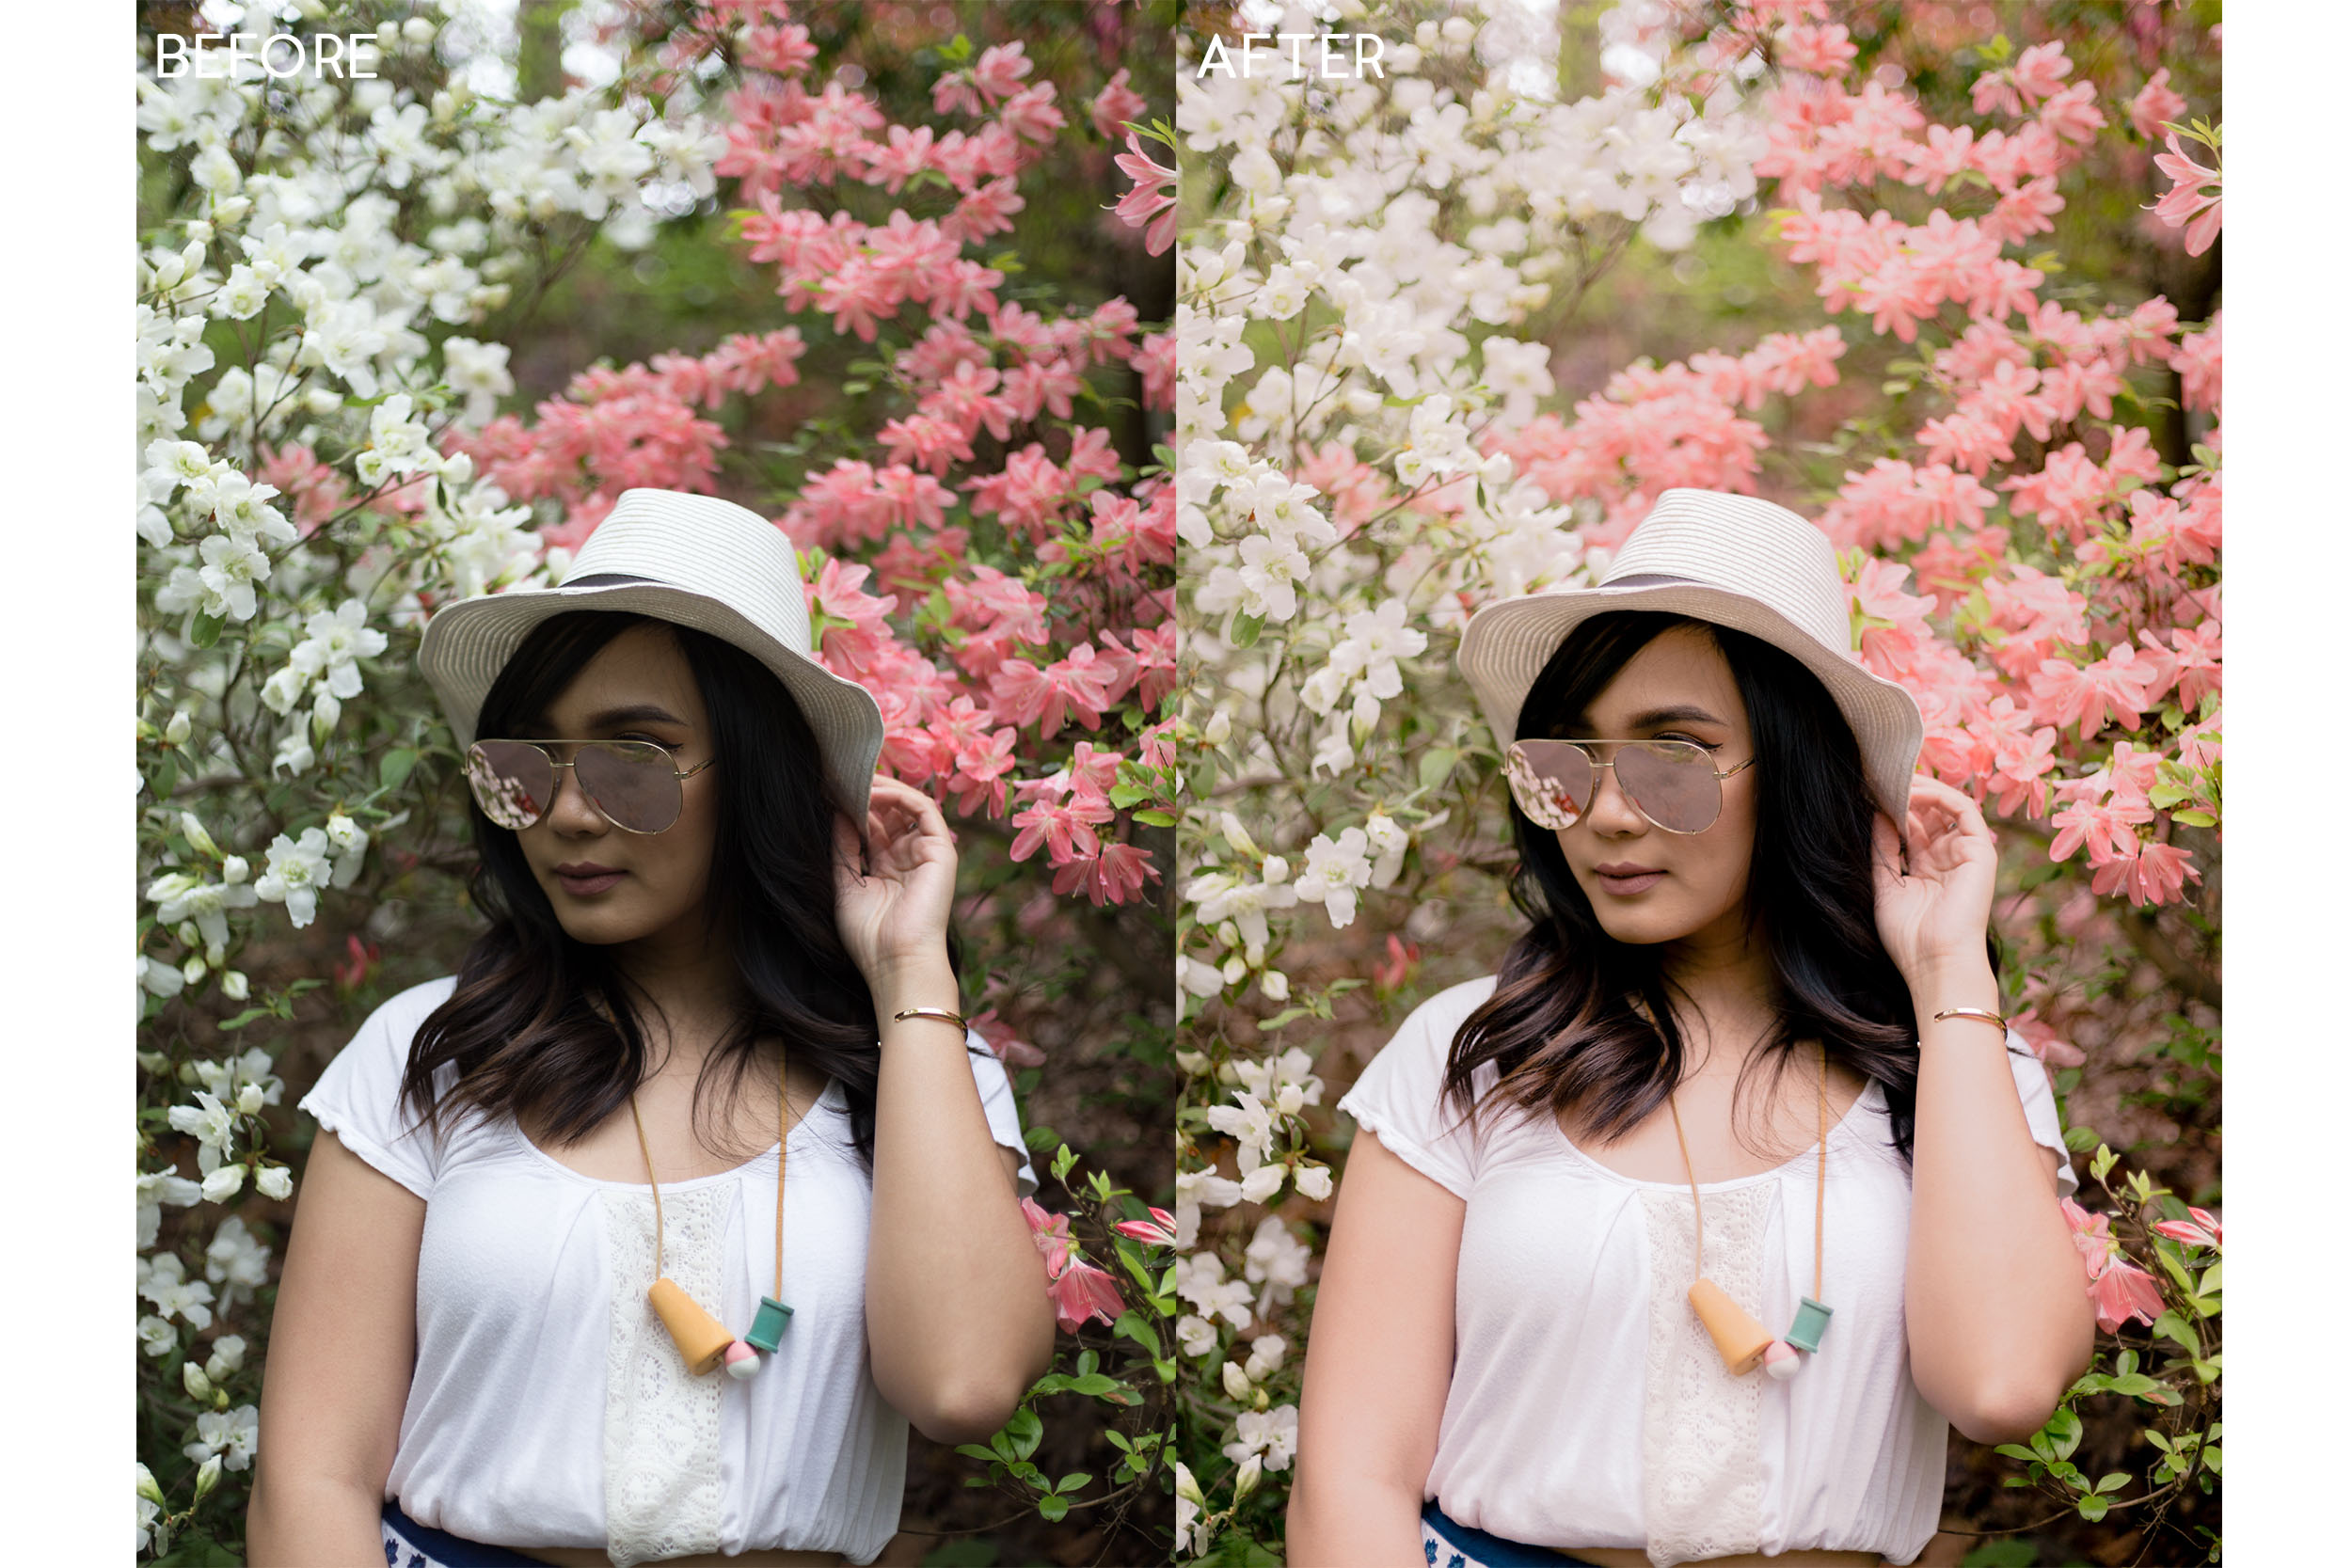
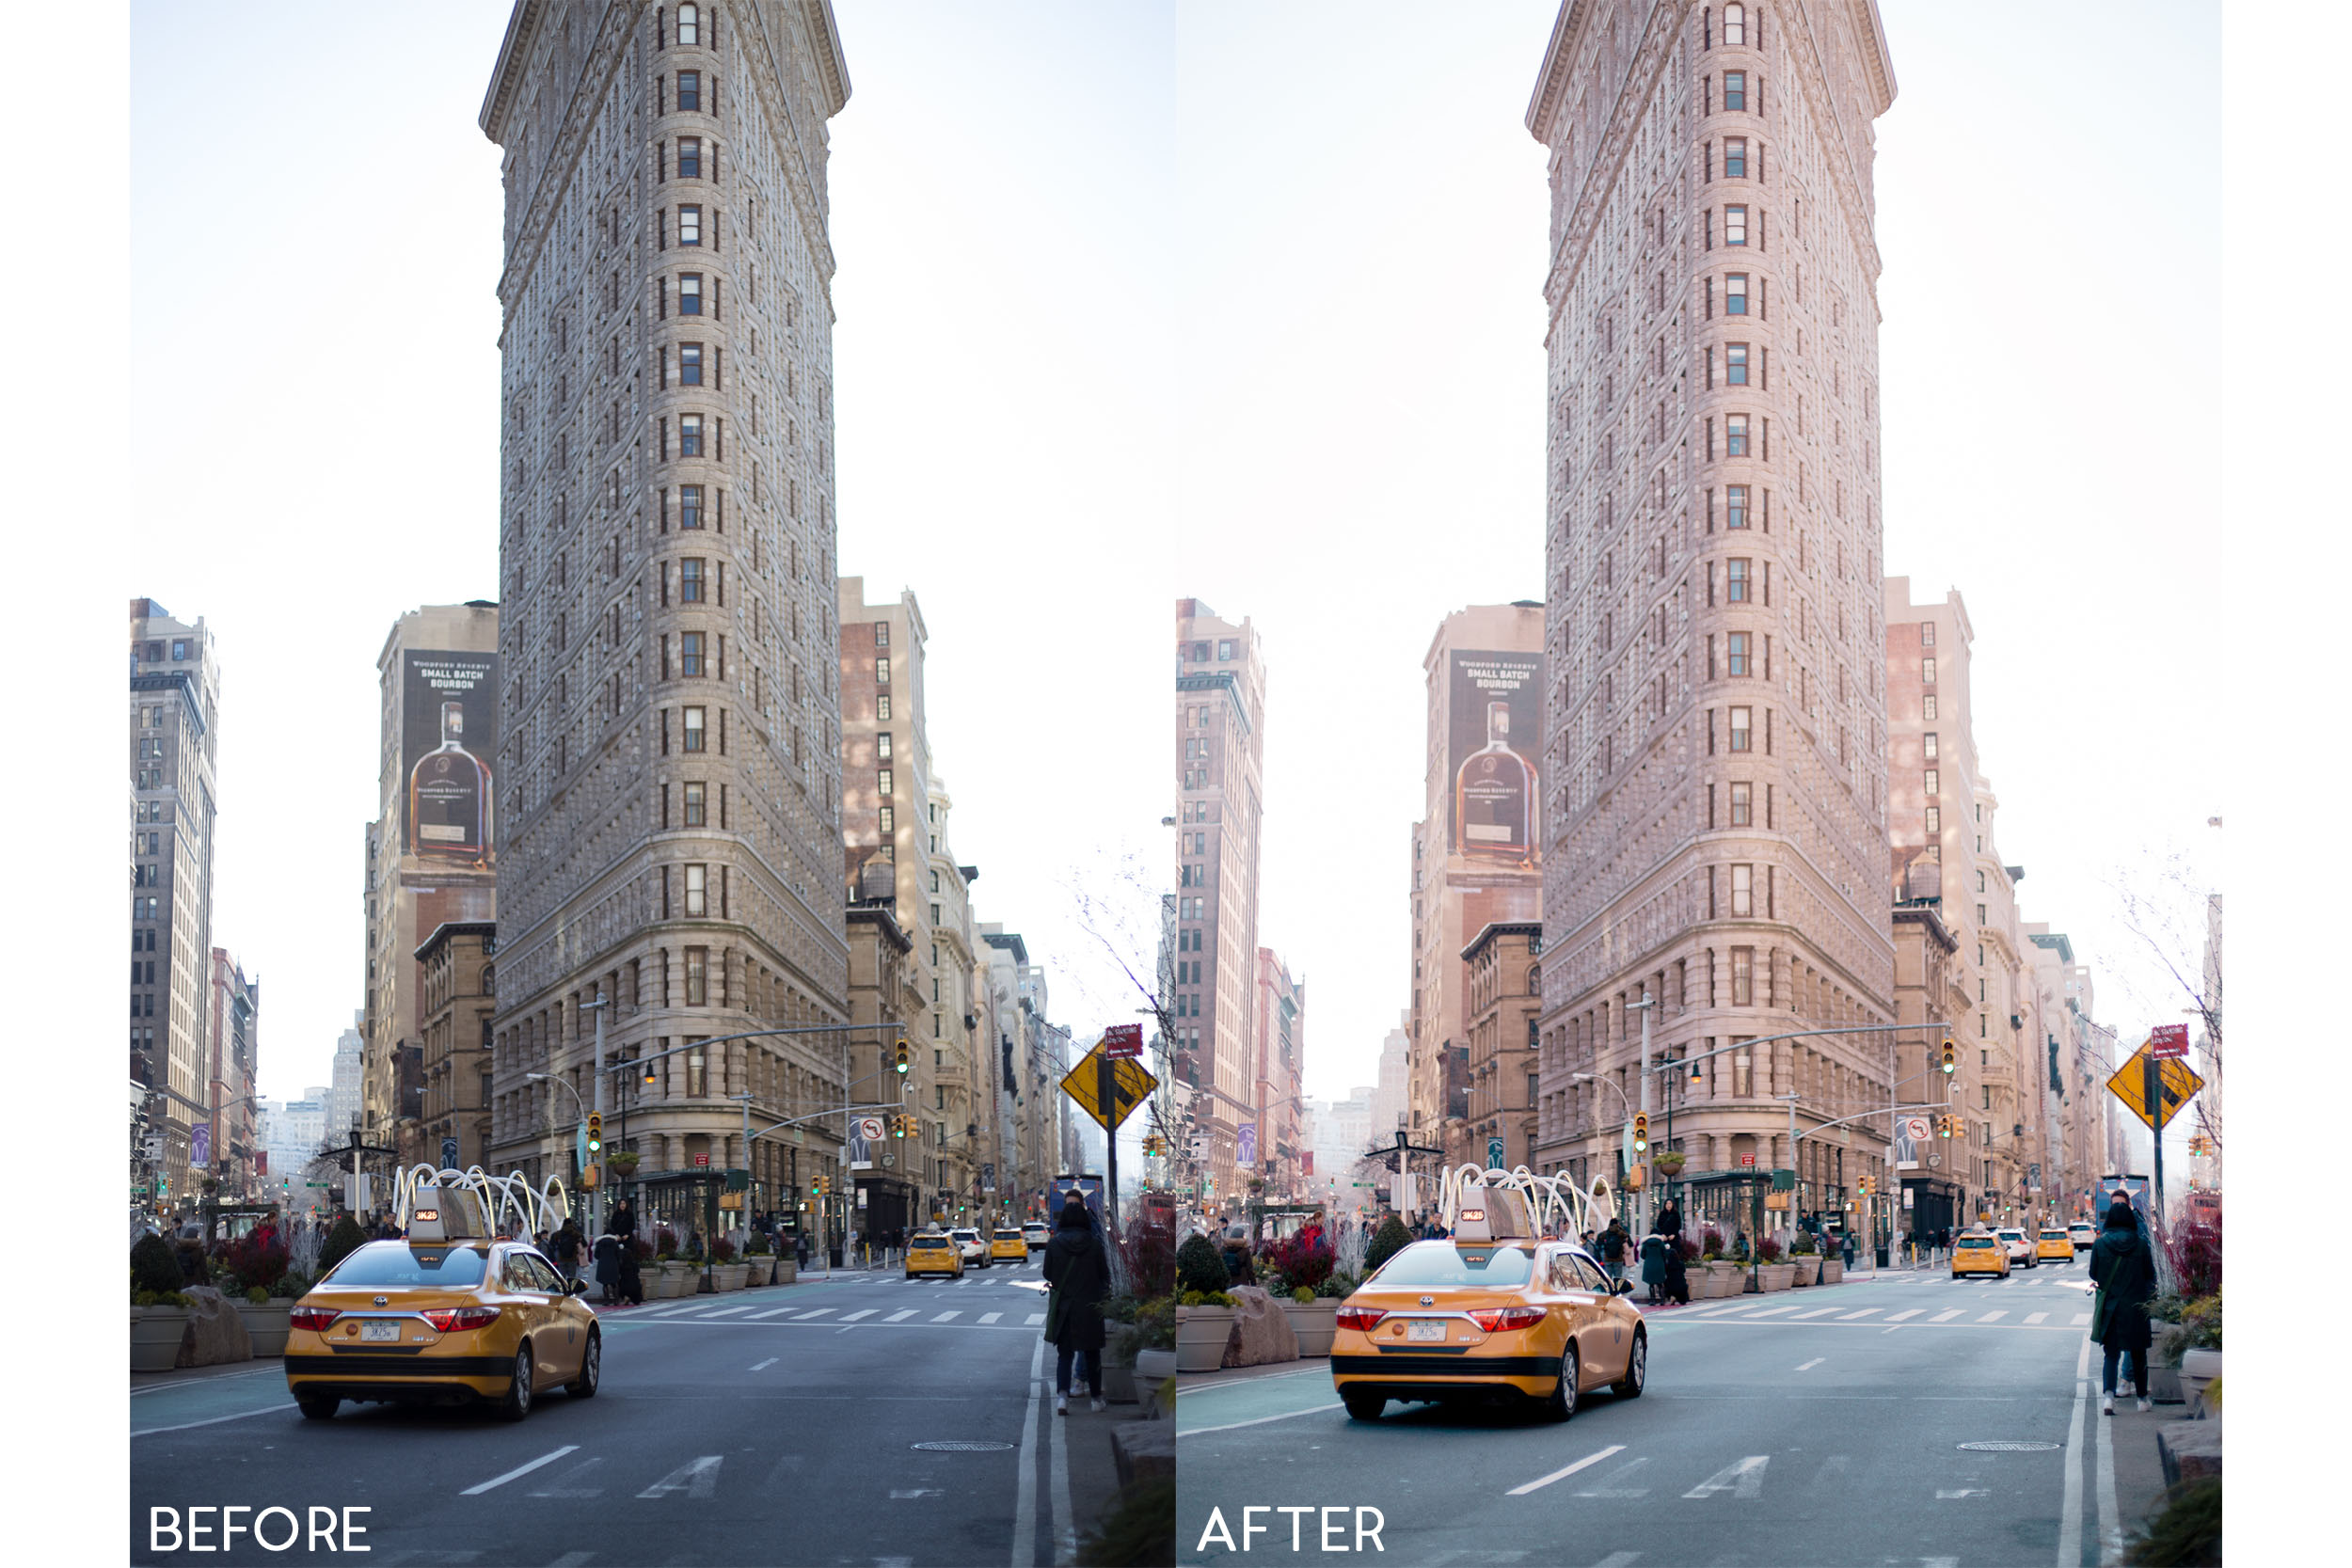
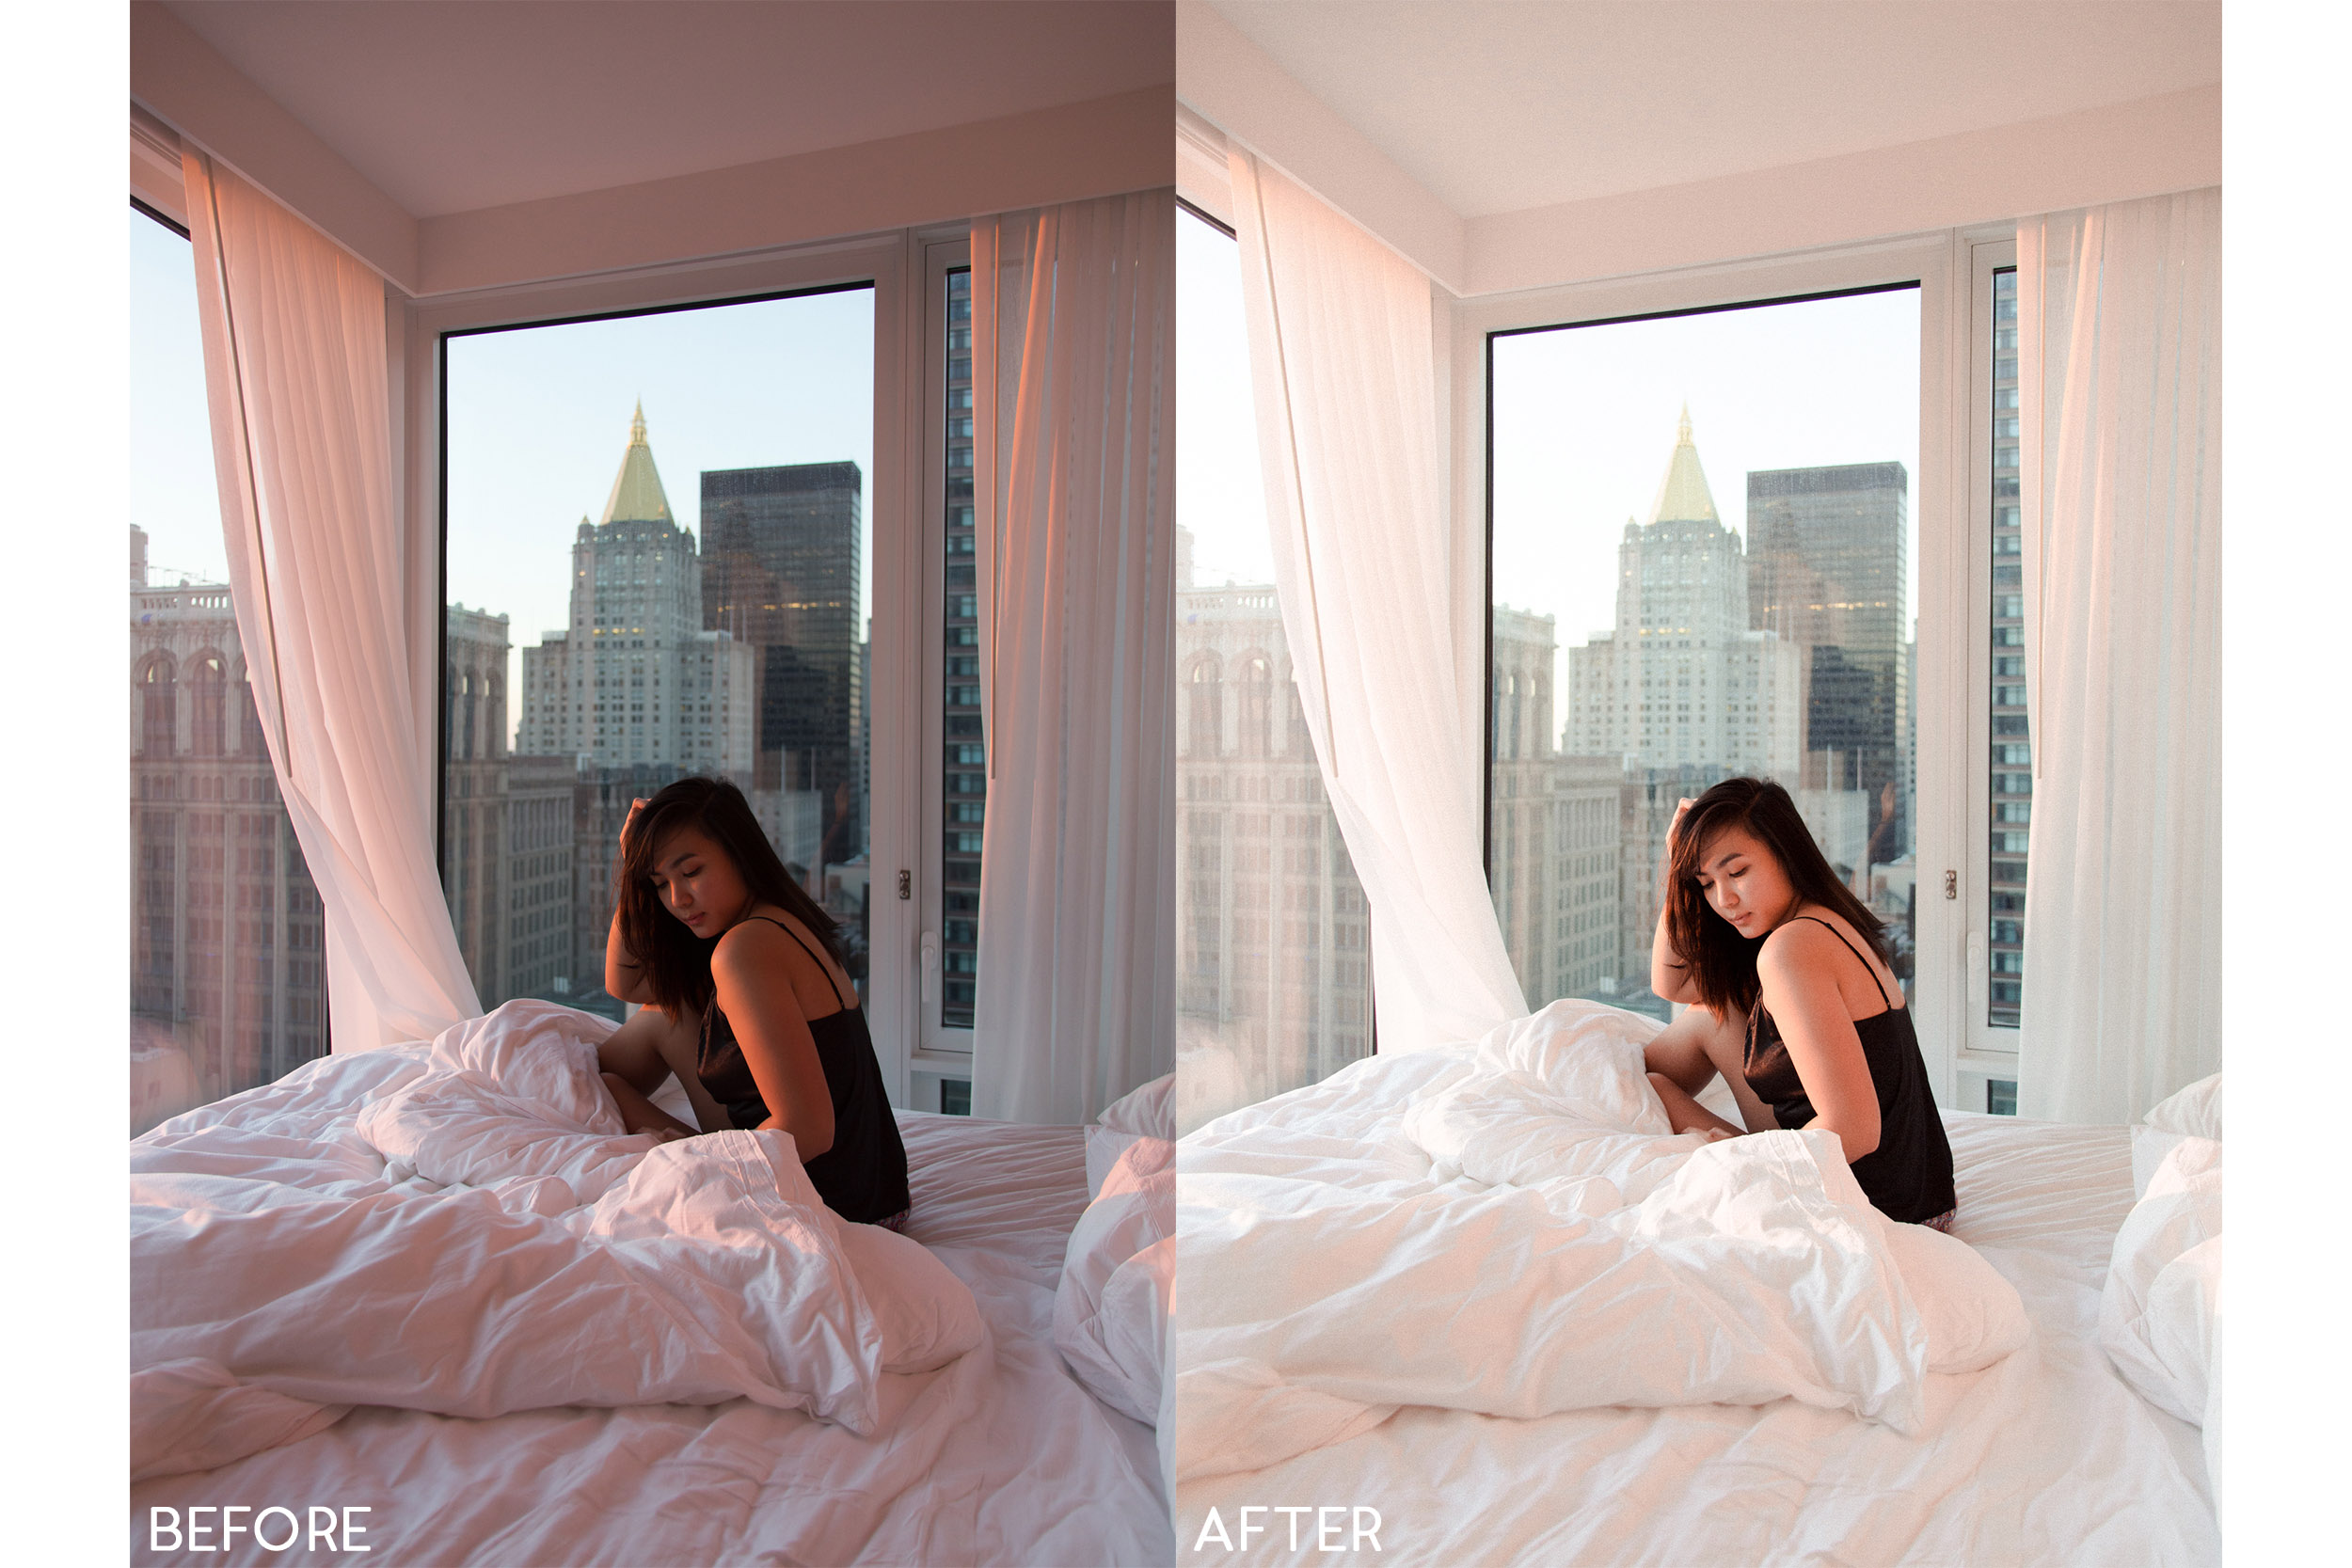
Anyway, because I'm really excited about my own presets, I'm going to share below a few of my favorite before and after shots using my favorite presets. Again, they are now available for purchase!


![How To Use The Adobe Lightroom Mobile App [VIDEO]](https://images.squarespace-cdn.com/content/v1/5404cb22e4b0c1de726585f0/1566585456811-2WV9DMYFAJAZTZXZQLCC/4.jpg)


![Get Ready With Me: My Go-To Summer Smokey Eye [VIDEO]](https://images.squarespace-cdn.com/content/v1/5404cb22e4b0c1de726585f0/1500483475029-IKT9IH0LOO9538Z8ABPS/IMG_9960.jpg)
